How to Install a Bathroom Faucet: Step-by-Step Tutorial
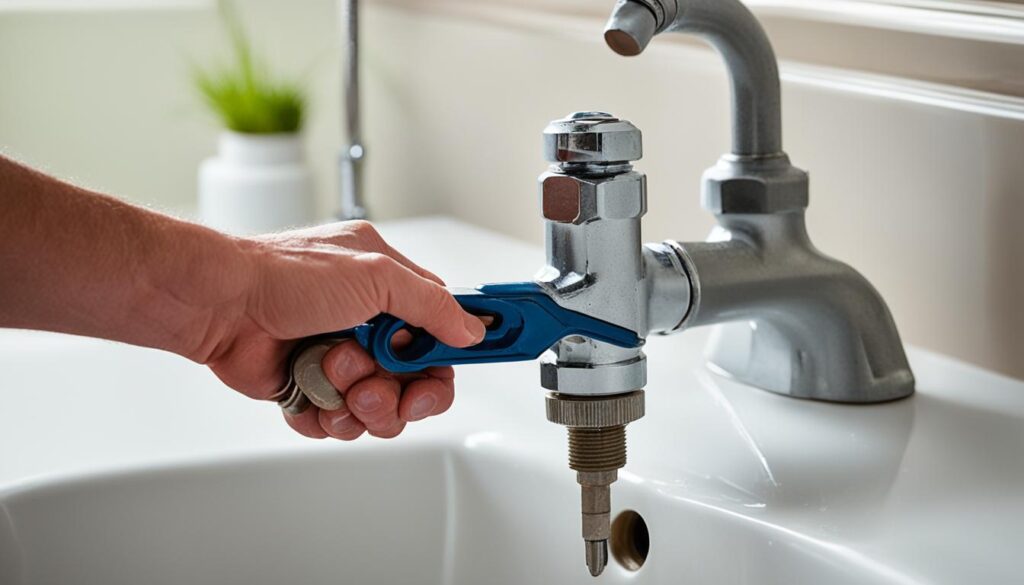
Upgrading your bathroom faucet can enhance both its appearance and functionality. This step-by-step guide covers essential tools, preparation, removal of the old faucet, installation of the new one, connection of water supply lines, and final adjustments.
Summary
Key steps include gathering necessary tools, ensuring faucet compatibility with your sink, preparing the sink area, removing the old faucet, installing the new faucet, connecting water supply lines, and securing the faucet while checking for leaks. Proper maintenance is also emphasized to ensure the longevity of your new faucet.
Upgrading Your Bathroom with a New Faucet
Upgrading your bathroom faucet can refresh your bathroom’s look and feel. Whether you want a modern look or a classic style, a new bathroom faucet can change everything. A quality faucet upgrade boosts your space’s look, function, and value.
Choosing a new bathroom faucet lets you change your room’s style and personality. There are many designs, finishes, and features to pick from. You can find a faucet that matches your decor or is the main feature for a bathroom makeover. Options range from sleek chrome to elegant brushed bronze, letting you create a unique look.
A new bathroom faucet also makes your space more functional. Modern faucets come with water-saving tech, better water pressure, and easy controls. This makes your daily routine easier and more fun. Plus, the right faucet can raise your home’s value, making it a smart investment.
Next, we’ll explore how to pick and install a new bathroom faucet. We’ll cover the key steps and tips for a successful project. Get ready to upgrade your bathroom and see the benefits of a bathroom faucet upgrade!
Essential Tools and Materials
Before starting the installation, it’s key to collect the needed tools for bathroom faucet installation. This step is vital for a smooth upgrade. We’ll look at the essential items and the common faucet types and their compatibility with your sink.
Must-Have Tools for a Smooth Installation
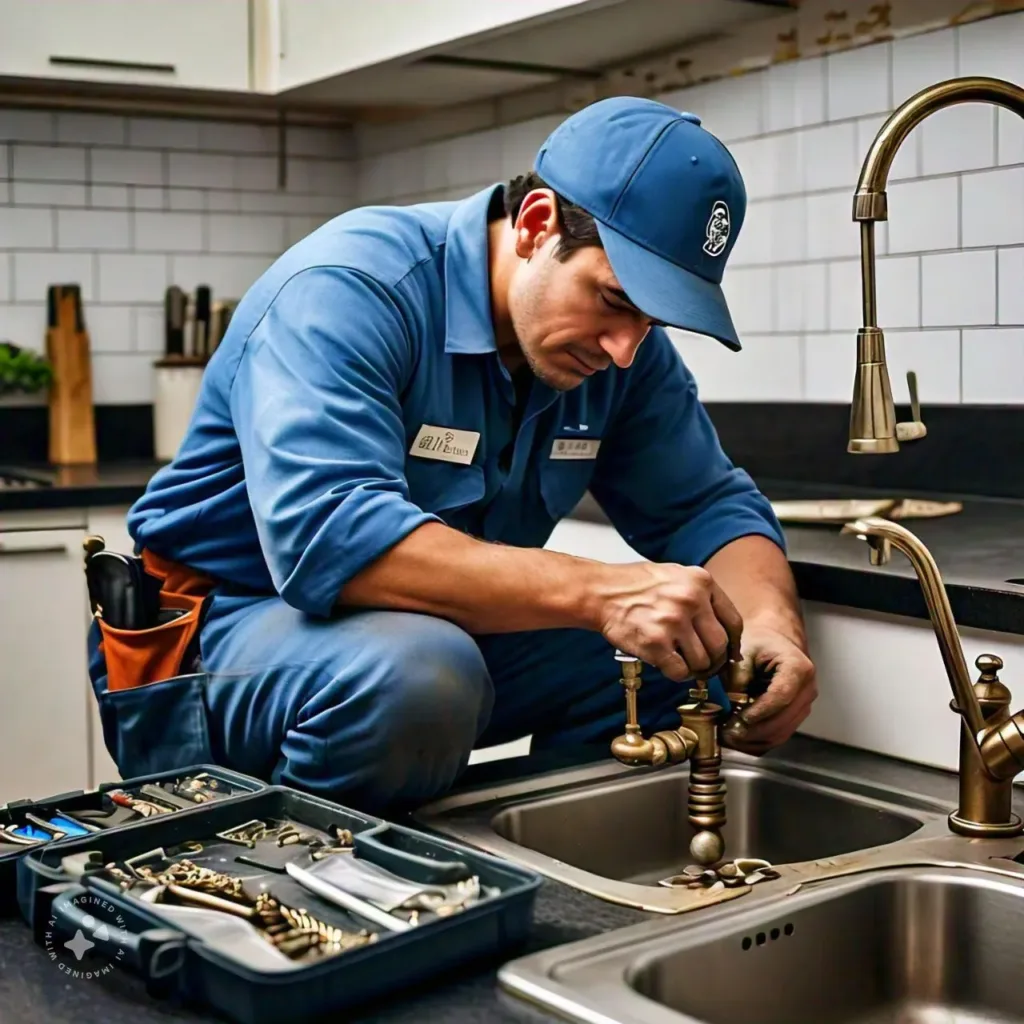
Having the right tools is crucial for a successful bathroom faucet project. Here’s what you’ll need:
- Adjustable wrench or basin wrench
- Pliers or channel-lock pliers
- Putty knife or utility knife
- Tube cutter or hacksaw
- Teflon tape or pipe dope
- Bucket or towel to catch any water
- Flashlight or work light (optional)
Understanding Faucet Types and Compatibility
Knowing about common faucet types and their compatibility with your sink makes installation easier. Here are some popular faucet styles:
- Single-handle faucets: These have one lever for controlling water flow and temperature.
- Two-handle faucets: These offer separate handles for hot and cold water, giving precise temperature control.
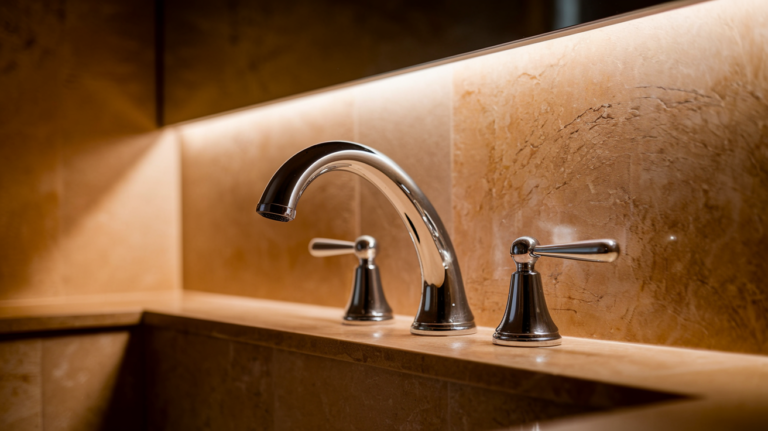
- Widespread faucets: They consist of three parts – the spout and two handles – and need a bigger sink cutout.
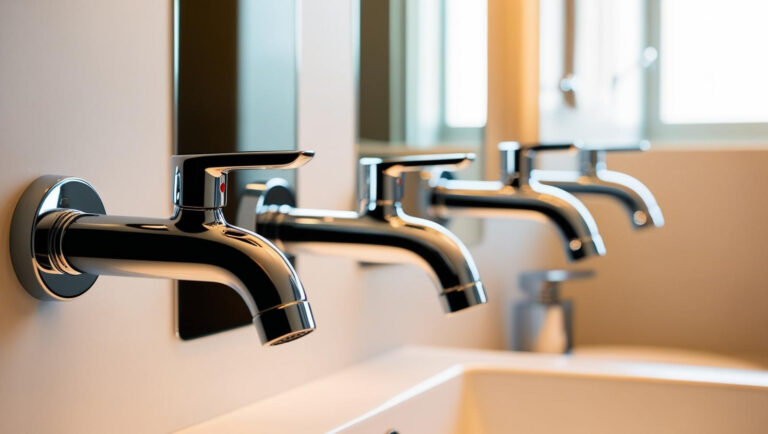
- Wall-mounted faucets: Installed directly on the wall, they don’t require a sink cutout.
Before buying, measure your sink’s size and talk to a pro to ensure the faucet compatibility fits your setup.
“Proper tool selection and understanding faucet compatibility are crucial for a successful bathroom faucet installation.”
Preparing the Sink Area for Faucet Installation
Before starting the installation, make sure the sink area is ready. This ensures your new bathroom faucet fits well and works smoothly. Here are the key steps to follow.
Cleaning the Sink Surface
First, clean the sink surface well. Get rid of dirt, grime, or any old residue. This makes the sink ready for the new faucet. Use a gentle cleaner and a soft cloth to clean the sink without damaging it.
Measuring the Sink Hole Size
Then, measure the sink holes’ size. This is crucial to pick the right faucet for your sink. Use a ruler or tape measure to note the holes’ diameter and depth.
If your sink has more than one hole, measure each one. This tells you what your new faucet needs.
Preparing the Sink for Faucet Install
After cleaning and measuring, get the sink ready for the new faucet. Take out any old hardware or sealants without harming the sink. This makes room for the new faucet parts.
If needed, use a degreaser or mild abrasive to clean the sink holes well. This ensures a tight seal with the new faucet.
| Task | Description |
|---|---|
| Cleaning the Sink Surface | Remove dirt, grime, and residue from the sink surface using a mild cleaning solution and a soft cloth or sponge. |
| Measuring the Sink Hole Size | Use a ruler or tape measure to accurately record the dimensions of the existing sink holes, including diameter and depth. |
| Preparing the Sink for Faucet Install | Remove any existing hardware or sealants, and use a degreaser or mild abrasive to create a clean, unobstructed surface for the new faucet. |
By doing these steps, you’ll get the sink ready for the new faucet. This careful preparation leads to a smooth and successful upgrade for your bathroom.
Removing the Old Faucet and Prepping the Surface
Before you can install your new bathroom faucet, you’ll need to remove the old one. This guide will help you safely and efficiently remove your faucet and prepare the sink for the new one.
Step-by-Step Guide to Removing the Old Faucet
Removing an old bathroom faucet might seem hard, but it’s easier with the right tools and steps. Here’s how to do it:
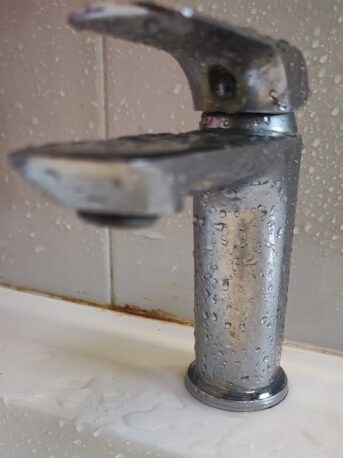
- First, turn off the water supply to the sink by finding and closing the shut-off valves under the sink. If there are no shut-off valves, you’ll need to turn off the main water supply to the house.
- Next, disconnect the water supply lines from the faucet by unscrewing the compression nuts that hold them.
- Then, remove any decorative trim or escutcheon plates around the faucet base.
- Use a basin wrench or pliers to loosen and remove the faucet mounting nuts that hold the faucet to the sink.
- Finally, gently lift the old faucet out of the sink, being careful not to damage the sink.
After removing the old faucet, you need to prepare the sink for the new one. This means cleaning off any leftover sealant or debris and making sure the surface is flat and smooth.
| Tool | Purpose |
|---|---|
| Basin Wrench | Used to loosen and remove the faucet mounting nuts |
| Pliers | Can also be used to remove the faucet mounting nuts |
| Utility Knife | Helpful for cutting away any remaining sealant or caulk around the sink |
With the old faucet removed and the sink prepped, you’re ready to install your new faucet. Next, we’ll guide you through the steps to install it.
How to Install a Bathroom Faucet
Installing a new bathroom faucet can make your space look fresh and improve its look. The bathroom faucet installation process might seem hard, but it’s doable with the right steps. We’ll help you with the faucet mounting process and show you how to install a new faucet in your bathroom.
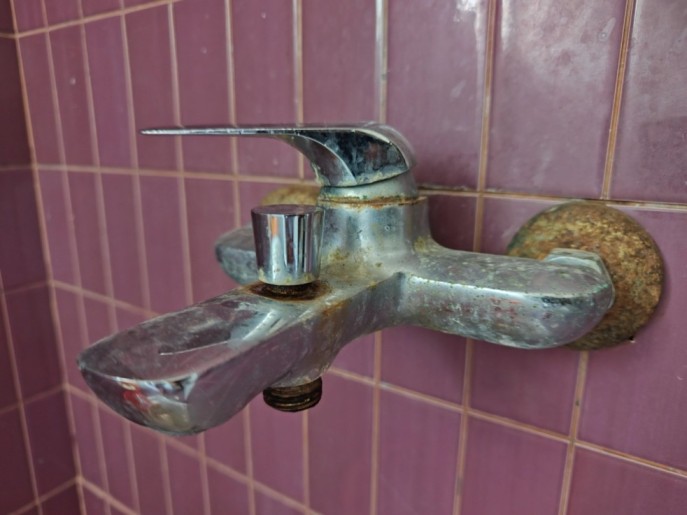
- Carefully remove the old faucet, taking note of the existing setup and any necessary plumbing connections.
- Clean the sink surface thoroughly, ensuring a smooth foundation for the new faucet.
- Refer to the manufacturer’s instructions and position the faucet base according to the designated mounting holes.
- Secure the faucet base using the provided hardware, tightening the connections for a secure fit.
- Attach the faucet body to the base, ensuring a tight and leak-proof seal.
- Connect the water supply lines, taking care to properly align and tighten the connections.
- Turn on the water supply and check for any leaks, making adjustments as needed.
- Finish by testing the faucet’s functionality, ensuring smooth operation and optimal water flow.
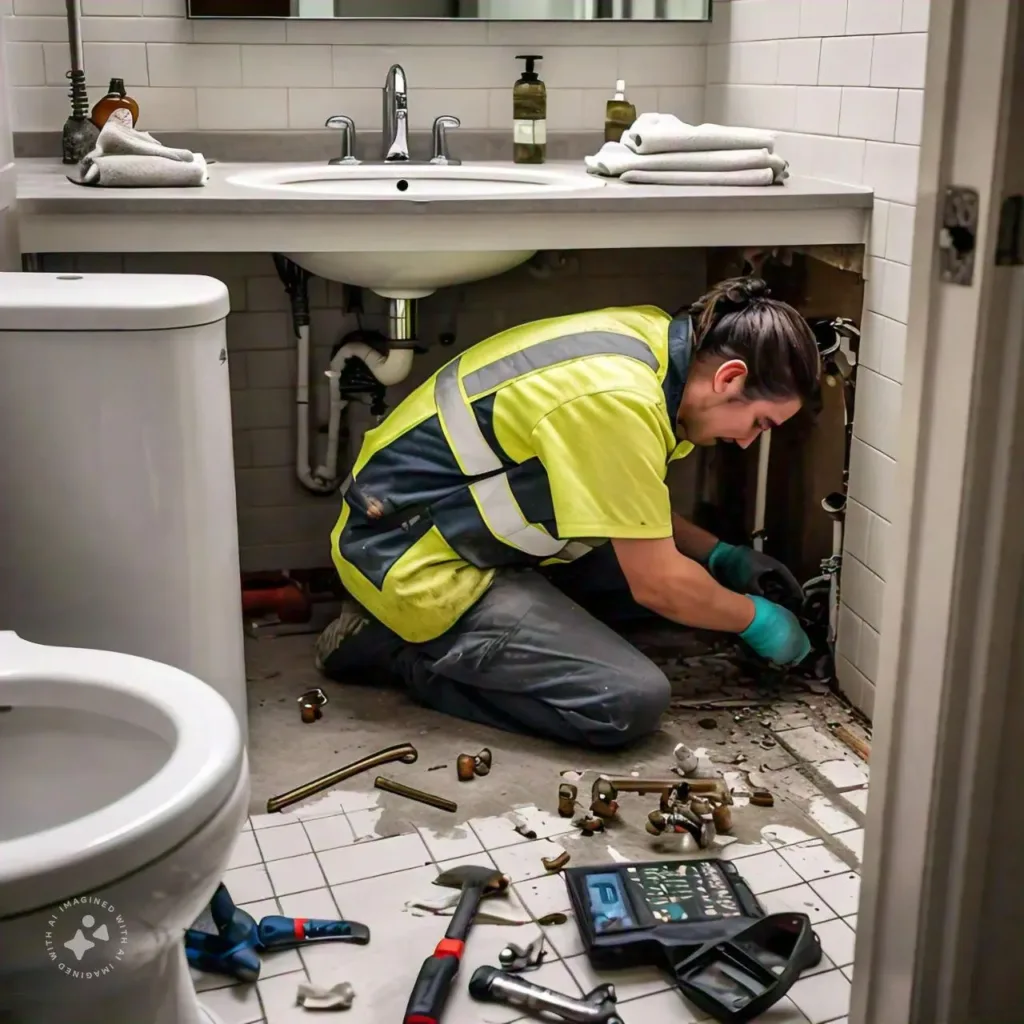
The step-by-step bathroom faucet installation process can change a bit based on the faucet model and your bathroom’s setup. Always check the manufacturer’s instructions and be careful during the faucet mounting process.
“The key to a successful bathroom faucet installation is patience, attention to detail, and a willingness to troubleshoot any unexpected challenges that may arise.”
By following these steps and taking your time, you can get a professional-looking bathroom faucet installation. This will make your space look better and work better. Enjoy your new faucet and feel proud of your work!
Connecting the Water Supply Lines
Connecting the water supply lines is key to a successful bathroom faucet installation. This guide will help you connect the lines right, making sure your faucet doesn’t leak.
Tips for Properly Securing the Water Lines
Connecting the water lines to your new faucet needs care and the right method. Here are some tips for a secure connection:
- Measure the distance between the faucet and the water supply lines to find the right line length.
- Choose flexible supply lines over rigid copper or steel pipes. They’re easier to handle and less likely to leak.
- Wrap plumber’s tape or use thread sealant on the supply lines’ ends for a tight seal and leak prevention.
- Make sure to tighten the connections to the faucet and shut-off valves well, but don’t overtighten to avoid damage.
- Check that the supply lines aren’t bent or twisted. This can block water flow and cause leaks.
By following these tips for securing the water lines and connecting the water supply lines, you’ll get your new bathroom faucet installed right.
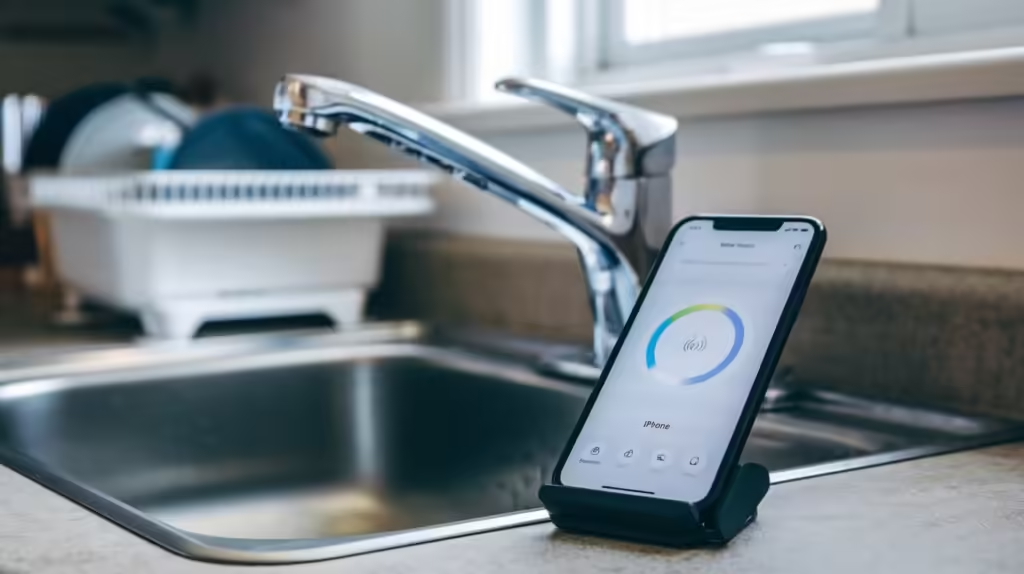
| Step | Description |
|---|---|
| 1. Measure distance | Measure the distance between the faucet and the shut-off valves to get the right supply line length. |
| 2. Use flexible lines | Go for flexible supply lines over rigid ones. They’re easier to handle and less likely to leak. |
| 3. Apply sealant | Use plumber’s tape or thread sealant on the supply lines’ ends for a secure seal and leak prevention. |
| 4. Tighten connections | Tighten the connections to the faucet and shut-off valves well, but avoid overtightening. |
| 5. Avoid kinks | Make sure the supply lines aren’t bent or twisted to prevent water flow issues and leaks. |
Finishing Touches: Securing the Faucet and Testing
After installing your new bathroom faucet and connecting the water lines, it’s time for the final steps. Securing the faucet and testing it are key to a successful installation. These steps ensure your faucet works well and doesn’t leak.
Securing the Faucet for a Sturdy Fit
To secure the faucet, follow these steps:
- Tighten the mounting nuts or screws that hold the faucet in place, using the right tools. This keeps the faucet from shifting or becoming loose over time.
- Apply a bead of silicone caulk around the faucet’s base, where it meets the sink or countertop. This seals the area and prevents leaks.
- Check that all connections are tight and secure, leaving no room for movement or leaks.
Testing the New Bathroom Faucet
With the faucet in place, it’s time to test it:
- Turn on the water supply and check for leaks at the connections or around the faucet’s base.
- Operate the faucet handles, making sure they move smoothly and the water flow is consistent and as expected.
- Test the faucet’s various functions, like temperature adjustment, water pressure, and any special features it has.
If you find any issues during testing, check the troubleshooting section of this guide to fix them. With the final steps done and the faucet tested, your bathroom is now ready to enjoy.
Troubleshooting Common Installation Issues
Installing a new bathroom faucet can be a fun DIY project, but it might have some challenges. This section will help you fix common problems and make sure your installation goes well.
Identifying and Resolving Water Leaks
Water leaks are a common issue during faucet installation. They can happen at the faucet-sink connection or the water supply lines. Here’s how to find and fix these leaks:
- Look at the faucet-to-sink connection for gaps or bad sealing. If you see moisture, tighten the nuts or change the washers for a good seal.
- Check the water supply line for leaks. Tighten the connections or swap out the washers to stop leaks.
- Make sure the faucet is lined up right and the mounting hardware is secure. Wrong alignment can cause leaks.
If leaks keep happening, it’s time to call a professional plumber. They can figure out the problem and help you fix water leaks and complete a successful bathroom faucet installation.
| Common Installation Problem | Possible Causes | Solution |
|---|---|---|
| Faucet not aligning properly | Improper mounting, uneven sink surface | Adjust mounting hardware, use shims to level the sink |
| Leaks at water supply connections | Loose connections, worn washers | Tighten connections, replace washers |
| Dripping or leaking faucet | Worn washers or seals, improper installation | Replace washers or seals, ensure proper installation |
By fixing these common bathroom faucet installation problems, you can have a smooth and successful project. This will give you a faucet that works well and lasts a long time.

Maintenance and Care for Long-Lasting Faucets
Keeping your new bathroom faucet in top shape is crucial for its longevity. Simple cleaning and care can make it last longer and look great. Follow these steps to keep your faucet in perfect condition.
Cleaning Your Faucet
Cleaning your faucet often is a must to keep it looking good and free from mineral buildup. Use a gentle cleanser and a soft cloth to wipe it down. Don’t use harsh chemicals or rough scrubbers, as they can harm the finish. The aerator is a key area to focus on, as minerals tend to gather there.
Protecting the Finish
Apply a bit of car wax or faucet polish now and then to shield the faucet’s finish. This creates a protective layer against water spots, tarnishing, and color changes. Always check the manufacturer’s guidelines for the best results.
Preventing Mineral Buildup
- Check and clean the aerator often to remove mineral deposits.
- Think about getting a water softener or using filtered water to cut down on mineral content.
- Avoid harsh cleaners or scrubbing pads, as they can scratch the faucet and lead to more mineral buildup.
By sticking to these maintenance and care tips, your bathroom faucet will stay in like-new condition. This means it will work well for a long time, increasing its lifespan, and avoiding the need for an early replacement.
Conclusion
You’ve finished installing a new bathroom faucet. You followed detailed steps and solved any problems that came up. Now, your bathroom looks better and works better too. This DIY project shows you can improve your space and feel proud of your work.
This guide covered everything you need: tools, materials, removing the old faucet, installing it, and keeping it in good shape. It doesn’t matter if you’re experienced or new to DIY. This article gives you the confidence to improve your home.
Now, your bathroom has a new look and works better. This upgrade shows off your skills and hard work. We hope you’re proud of what you’ve done. Keep finding ways to make your home better and enjoy the feeling of accomplishment.
FAQ
What are the essential tools needed for a bathroom faucet installation?
You’ll need a basin wrench, plumber’s putty, adjustable wrenches, a basin or basin nut tool, a tube cutter, and a clean rag for a smooth installation.
How do I ensure my new faucet is compatible with my existing sink?
Check the size and shape of your sink’s holes against your new faucet’s specs. Make sure the faucet fits well and is securely in place.
What steps should I take to prepare the sink area before installing the new faucet?
Clean the sink well, remove old caulk or sealant, and measure the sink holes for a good fit with the new faucet.
How do I safely and effectively remove the old bathroom faucet?
First, turn off the water supply and disconnect the lines. Then, use a basin wrench to remove the faucet nuts. Lift out the old faucet and clean the sink for the new one.
What are the key steps in the installation process for a new bathroom faucet?
Key steps include attaching the faucet base to the sink, connecting the water lines, testing for leaks, and adjusting for a perfect fit and function.
How do I properly secure the water supply lines to the new faucet?
Use the right fittings and tighten connections well. Check for leaks. Securing the water lines right is key to avoiding future problems.
How can I troubleshoot and fix any water leaks that occur during the installation?
Start by finding where the leak is coming from. Check the faucet connections, water lines, or sink mounting. Adjust or tighten as needed to stop the leak.
What maintenance tips can I follow to keep my new bathroom faucet looking and functioning its best?
Clean it regularly with mild soap and water. Avoid harsh cleaners. Check for loose connections or wear to keep it in good shape.




4 Comments