

Learn how to repair a bathroom faucet like a pro! Fix leaks, drips, and low water pressure with this expert guide—complete with tools, tips, and safety checks.
Why Fixing a Bathroom Faucet Matters
A dripping faucet isn’t just annoying—it wastes up to 3,000 gallons of water per year (EPA). As a certified plumbing specialist with over a decade of experience, I’ve fixed hundreds of bathroom faucets, from simple cartridge swaps to full valve replacements. In this guide, I’ll walk you through common issues, repair steps, and pro tips to save you time, money, and frustration.
Common Bathroom Faucet Problems
- Dripping or Leaking
- Causes: Worn-out O-rings, corroded valve seats, or damaged cartridges.
- Low Water Pressure
- Causes: Mineral buildup in aerators, clogged supply lines, or faulty cartridges.
- Loose Handle
- Causes: Loose screws or worn handle components.
- Squeaking or Stiff Handle
- Causes: Lack of lubrication or debris in the valve.
Tools You’ll Need
- Adjustable wrench
- Allen wrench (hex key)
- Screwdriver set (Phillips and flathead)
- Replacement parts (O-rings, cartridges, washers)
- Plumber’s grease or silicone lubricant
- Vinegar (for mineral buildup)
Step-by-Step Repair Guide
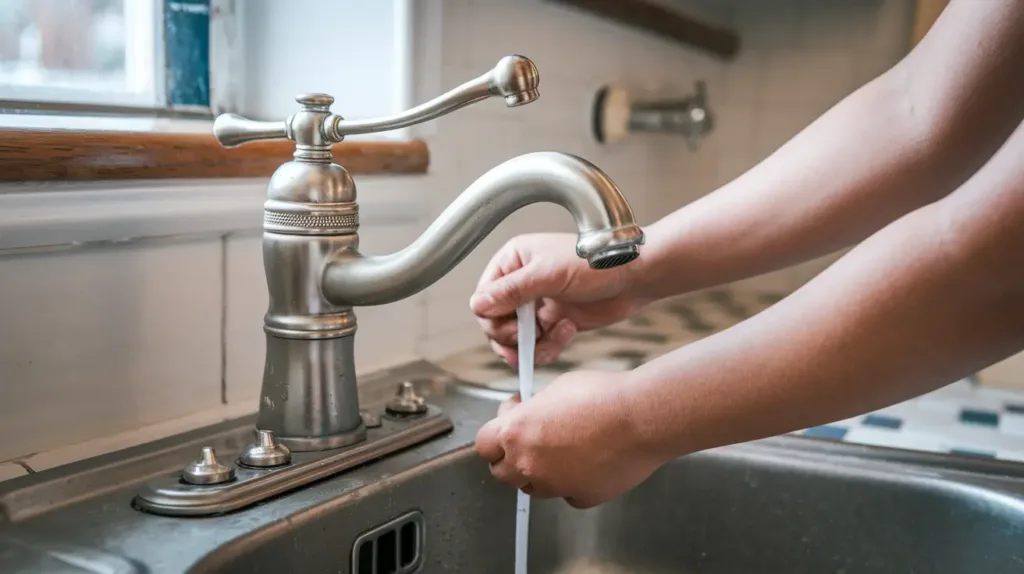
Step 1: Turn Off the Water Supply
- Locate the shut-off valves under the sink (turn clockwise).
- No valves? Shut off the main water supply to the house.
Step 2: Identify Your Faucet Type
Bathroom faucets come in 4 main types. Knowing yours is key:
- Cartridge Faucets (Moen, Delta): Replace the cartridge.
- Compression Faucets (Older models): Replace rubber washers.
- Ceramic Disk Faucets (Kohler): Clean or replace ceramic disks.
- Ball Valve Faucets (Delta): Replace springs and seals.
Step 3: Disassemble the Faucet
- Remove the handle:
- Pry off the decorative cap.
- Unscrew the handle with an Allen wrench or screwdriver.
- Extract the cartridge/valve assembly:
- Use pliers or a cartridge puller (for stubborn parts).
Pro Tip: Take photos during disassembly to simplify reassembly!
Step 4: Diagnose and Replace Faulty Parts
- Worn O-rings: Stretch or replace them (common in cartridge faucets).
- Corroded Valve Seat: Clean with vinegar or replace using a valve seat wrench.
- Cracked Cartridge: Install an exact replacement (brand-specific).
Step 5: Reassemble and Test
- Lubricate new O-rings with plumber’s grease.
- Reattach handles and tighten screws gently (over-tightening damages parts).
- Turn on the water supply and check for leaks.
When to Call a Professional
- Complex leaks involving supply lines or wall pipes.
- No improvement after replacing parts (could indicate hidden issues).
- Luxury faucets (e.g., waterfall or touchless models) requiring specialized tools.
Preventive Maintenance Tips
- Clean Aerators Monthly: Soak in vinegar to dissolve mineral deposits.
- Lubricate Moving Parts: Apply silicone grease annually.
- Avoid Harsh Cleaners: They corrode finishes and internal components.
FAQs: Quick Answers to Common Questions
Q: Why is my faucet still dripping after replacing the cartridge?
A: Check the valve seat for pitting or corrosion—it might need replacement.
Q: Can I repair a faucet without shutting off the water?
A: No! Always shut off the water to avoid flooding.
Q: How much does professional faucet repair cost?
A: 100–100–300, depending on parts and labor. DIY costs 10–10–50 for parts.
Conclusion: Empower Yourself with DIY Skills
Fixing a bathroom faucet is simpler than most people think. With the right tools and patience, you can tackle leaks, drips, and low pressure in under an hour. Remember: Start with the cheapest fix (like cleaning the aerator) before replacing major parts.
Need Help? Share your faucet model in the comments—I’ll guide you!