Cleaning a Non-Removable Faucet Aerator: Easy Steps
Keeping your faucet clean is key for good water flow and a nice experience. Homeowners often struggle with non-removable faucet aerators. These parts mix air with water for a smooth flow. But, they can get clogged with minerals and debris, causing poor water pressure and a bad flow.
In this article, we’ll show you how to clean a non-removable faucet aerator. This will help your sink or shower work better.
Key Takeaways
- Non-removable faucet aerators can become clogged with mineral buildup and debris, reducing water flow
- Cleaning a non-removable aerator is a straightforward process that can be done without specialized tools
- Learn effective techniques to remove stubborn deposits and restore water pressure
- Discover preventative measures to maintain a clean aerator and avoid future issues
- Understand when it may be necessary to replace a non-removable faucet aerator
What is a Non-Removable Faucet Aerator?
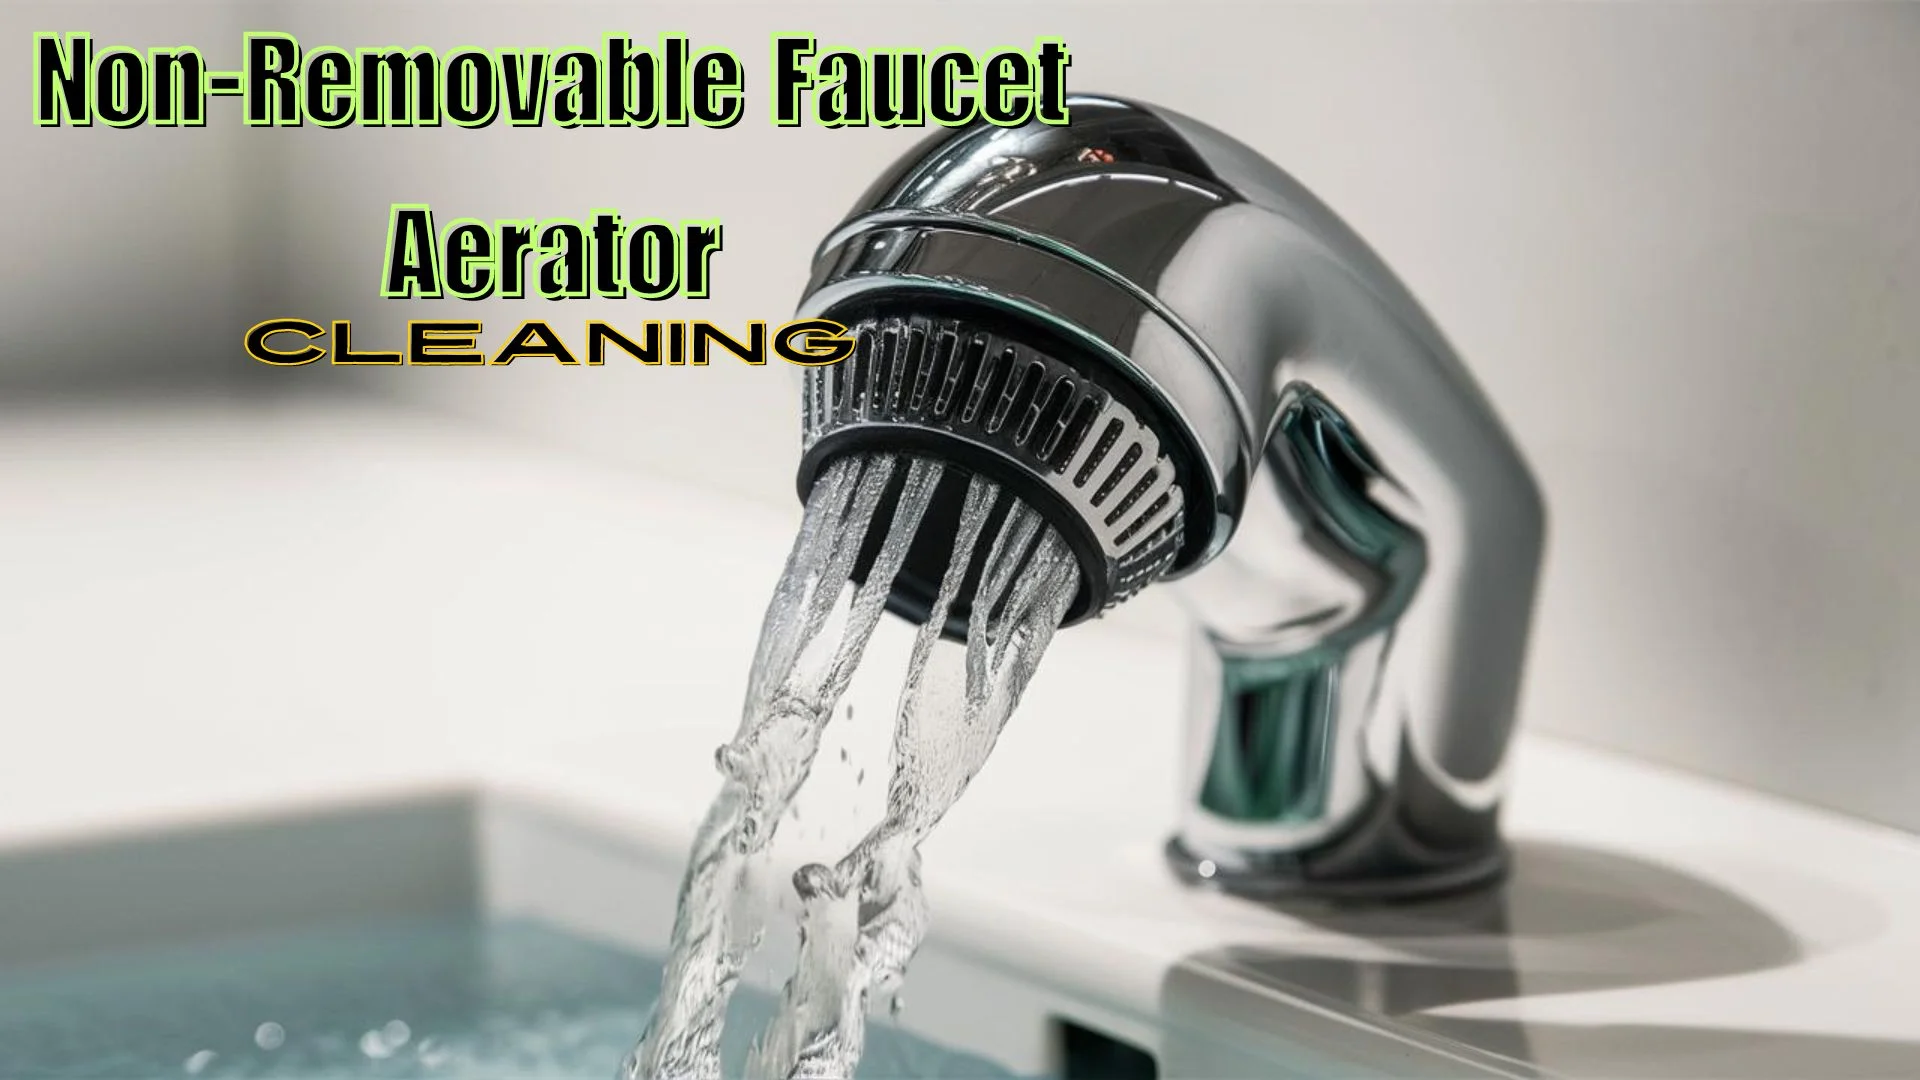
A non-removable faucet aerator is a small but key part of your faucet. It mixes air with water to create a steady, splash-free stream. This design boosts water efficiency and cuts down on messy splashing, making everyday tasks easier.
Understanding the Purpose and Function
The non-removable faucet aerator has two main jobs. It makes water flow more efficiently by adding air, which saves water without lowering pressure. It also stops excessive splashing, making tasks like washing dishes or hands more comfortable.
The faucet aerator’s purpose is to make using water better by giving you a smooth, aerated stream. It’s gentle on your hands and keeps the area clean. The faucet aerator’s function is to mix air and water for a consistent, splash-free flow. This saves water and keeps the pressure right.
“The non-removable faucet aerator is a small but mighty component that makes a big difference in our daily lives, improving water efficiency and reducing splashing.”
Knowing how this small part works can help you value it more and keep it working well.
Preparing for the Cleaning Process
Before you start cleaning your non-removable faucet aerator, there are a few important steps to take. These steps make the cleaning process smooth, efficient, and effective. They help set the stage for a successful outcome.
Let’s look at the key steps to prepare to clean the faucet aerator. These steps will make cleaning easy and hassle-free:
- Gather the necessary tools and materials. You’ll need a soft-bristled brush, a small mirror, pliers or tweezers, and a cleaning solution for faucet aerators.
- Make sure your workspace is clean and well-lit. This helps you see the aerator’s details clearly and work efficiently.
- Turn off the water supply to the faucet. This stops any unexpected water flow during cleaning.
- Cover the sink or tub with a clean towel or cloth. It catches any debris that falls and prevents it from going down the drain.
- Look closely at the faucet aerator to understand its design and construction. This helps you navigate the steps to clean the faucet aerator better.
By following these faucet aerator cleaning preparation steps, you’re ready for a successful and stress-free cleaning. Remember, a little preparation makes a big difference. It ensures a thorough and effective clean for your non-removable faucet aerator.
Step-by-Step Guide to Cleaning a Non-Removable Aerator
Cleaning a non-removable faucet aerator might seem hard, but it’s actually quite simple. This guide will show you how to clean nonremovable faucet aerators properly. It will help your faucet work better.
Tools and Materials Needed
First, collect the tools and materials you’ll need to clean a non-removable faucet aerator. You’ll need:
- A toothbrush or small cleaning brush
- Vinegar or mild detergent
- Small needle-nose pliers or tweezers (optional)
- Rubber gloves (to protect your hands)
Clearing the Aerator Opening
To start, clear the debris from the aerator opening. Here’s how:
- Turn off the water supply to the faucet.
- Use the toothbrush or cleaning brush to gently scrub the aerator opening. Remove any visible debris or mineral deposits.
- If the buildup is hard to remove, use the needle-nose pliers or tweezers to carefully take out any trapped particles.
By following these steps to clean non-removable faucet aerator, you can keep your faucet working well. This ensures good water flow.
Dealing with Stubborn Buildup and Deposits
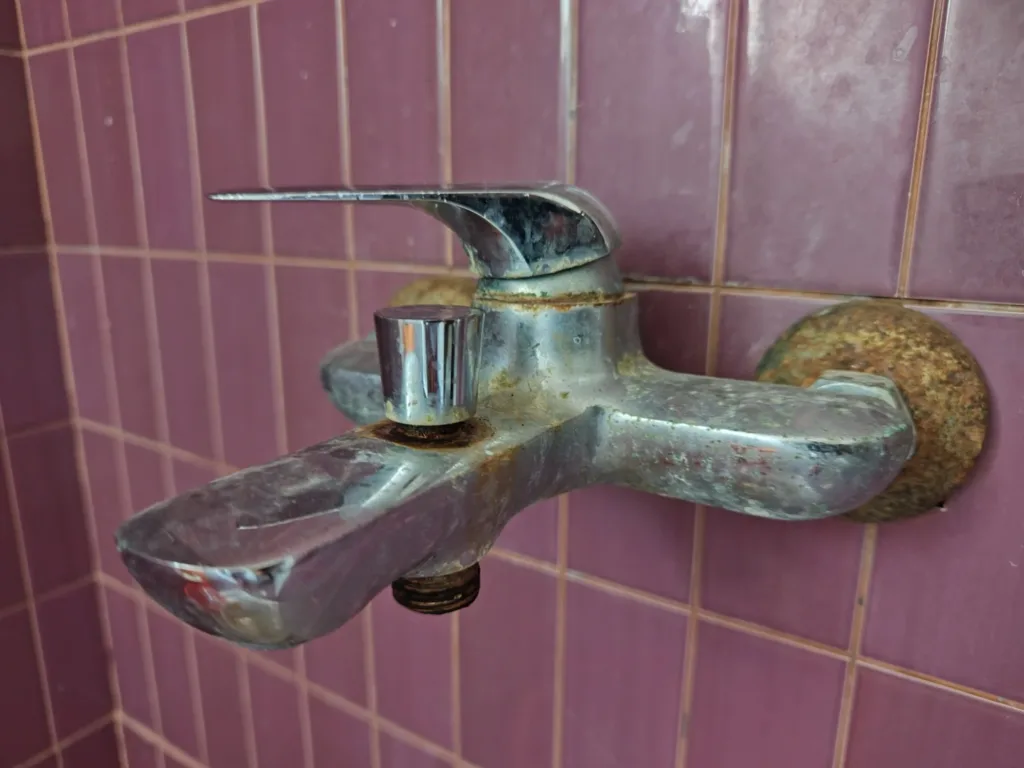
If you’re having trouble cleaning your non-removable faucet aerator, don’t worry. We have solutions and techniques to help you. These methods will make it easier to clean even the toughest buildup.
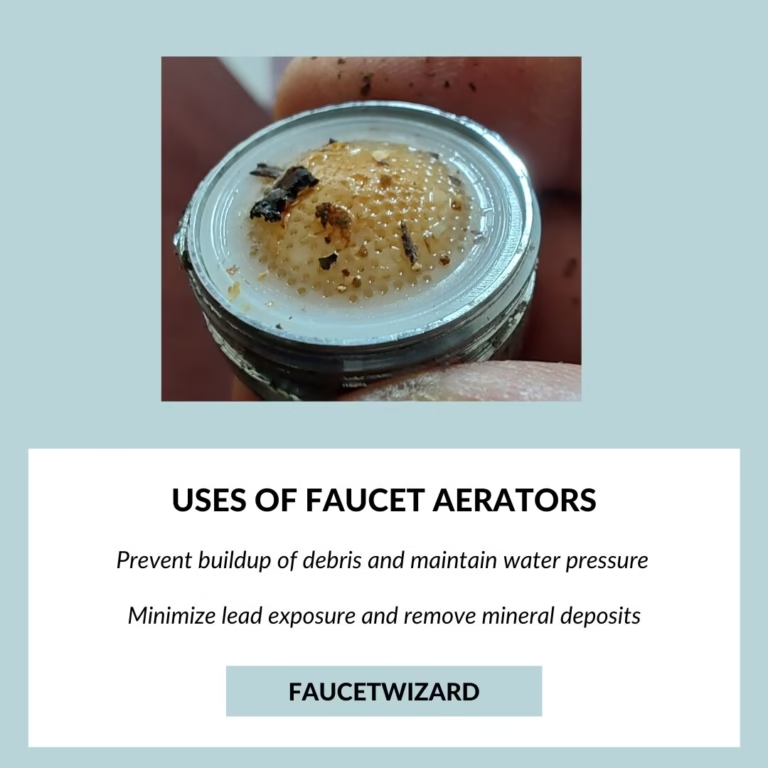
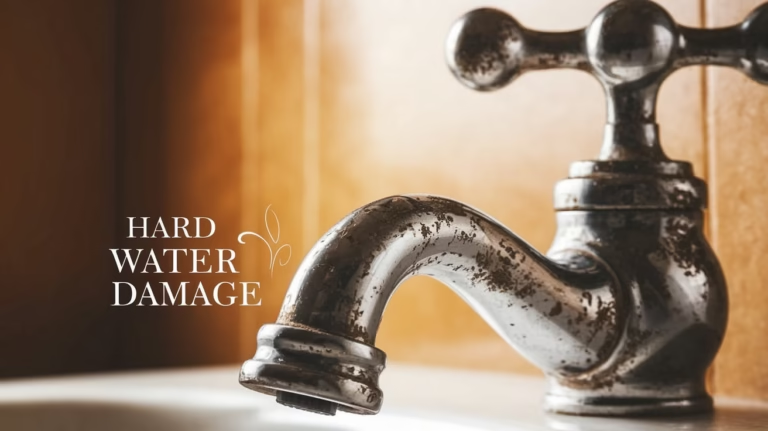
Hard water is often the cause of stubborn buildup on aerators. Minerals in hard water form a hard deposit that sticks to the aerator. To remove stubborn buildup from faucet aerator and clean deposits from the faucet aerator, try these steps:
- Soak the aerator in white vinegar: Let it sit in undiluted white vinegar for 15-20 minutes. Vinegar’s acid can dissolve the mineral deposits.
- Use a small brush or toothpick: Gently scrub the aerator with a soft-bristled brush or a toothpick to remove any faucet aerator buildup.
- Try a commercial aerator cleaning solution: Look for products made to deal with faucet aerator buildup. These solutions have cleaning agents for tough mineral deposits.
If these methods don’t work, try soaking the aerator in a stronger mix. Use water with lemon juice or white vinegar. The acid can break down stubborn buildup. Be gentle and patient, as rough scrubbing can harm the aerator.
With the right approach and some effort, you can remove stubborn buildup faucet aerator and clean deposits from faucet aerator. Your non-removable aerator will look new again.
How to Clean Non-Removable Faucet Aerator
Tips for Effective Cleaning
Keeping your faucet aerator clean is key for good water flow and avoiding clogs. If your aerator can’t be taken out, cleaning it might seem hard. But, with the right steps, you can make it work like new. Here are some tips to clean a non-removable faucet aerator well.
- Use a soft-bristled toothbrush or a small cleaning brush to gently scrub the aerator’s surface. This will help remove any visible debris or mineral buildup.
- Mix a solution of warm water and a few drops of mild dish soap. Dip a clean cloth into the solution and use it to wipe down the aerator, paying close attention to the small openings.
- For tougher deposits, try soaking the aerator in a vinegar solution for 10-15 minutes before scrubbing. The acidity in the vinegar will help break down the buildup.
- If the aerator has a removable screen or mesh, carefully remove it and soak it in the vinegar solution separately to ensure a thorough cleaning.
- Once the cleaning is complete, rinse the aerator thoroughly with clean water to remove any remaining soap or vinegar residue.
By following these simple tips for cleaning non-removable faucet aerators, you can keep your faucet working well. This prevents the trouble of low water pressure or uneven water flow.
“Regular cleaning of your non-removable faucet aerator is essential for maintaining optimal water flow and preventing future clogs.”
Preventative Measures for Future Maintenance
To keep your non-removable faucet aerator working well, it’s key to take steps ahead of time. By tackling potential problems early, you can avoid future buildup and keep it running smoothly.
One great way to prevent faucet aerator buildup is to clean it regularly. Just a quick wipe with a damp cloth every few weeks can help. Or, do a deeper clean every few months if you use your faucet a lot or your water is hard.
It’s also important to watch the water pressure and flow to maintain non-removable faucet aerator. High water pressure can make minerals and debris build up faster. So, check and adjust the pressure when you need to.
- Use a water softener or filter to cut down on hard water minerals.
- Avoid harsh chemicals or abrasive cleaners, as they can harm the aerator’s parts.
- Think about putting a protective screen or mesh over the aerator to catch big particles before they get in.
By using these faucet aerator maintenance tips, you can make your non-removable aerator last longer. This means better water flow and quality for years.
“Proper maintenance and prevention are the keys to keeping your non-removable faucet aerator in top condition.”
Troubleshooting Common Issues
Keeping your non-removable faucet aerator in good shape can sometimes lead to problems like low water pressure after cleaning. Luckily, these issues are often easy to fix with a few steps.
Low Water Pressure After Cleaning
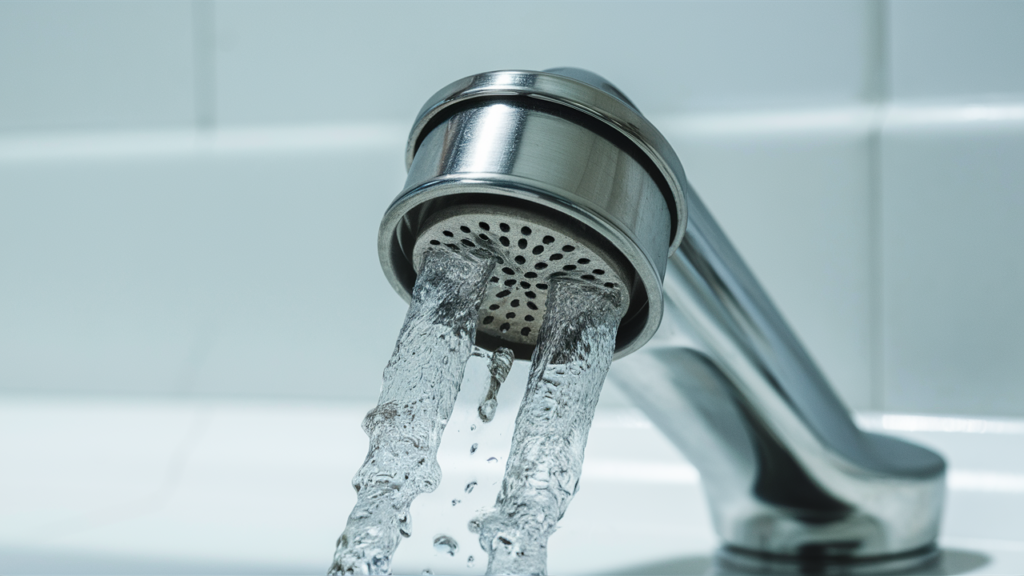
If you’ve seen water pressure drop after cleaning your non-removable faucet aerator, here are some things to check:
- Clogged Aerator: Even after cleaning, debris or mineral buildup might still block the aerator’s holes, reducing water flow. Look at the aerator closely and clean it again if needed.
- Incorrect Reassembly: If the aerator wasn’t put back together right, it won’t work right. Take it apart and put it back together carefully, making sure everything fits.
- Underlying Plumbing Issues: Sometimes, low water pressure comes from plumbing problems like leaks or sediment buildup. If cleaning the aerator doesn’t fix it, you might need a plumber to find and fix the real issue.
By trying these steps, you can usually fix common problems with non-removable faucet aerators and get your water pressure back to normal.
| Potential Issue | Possible Cause | Recommended Solution |
|---|---|---|
| Low water pressure after cleaning | Clogged aerator openings | Repeat the cleaning process to remove any remaining debris |
| Low water pressure after cleaning | Incorrect reassembly of the aerator | Carefully disassemble and reassemble the aerator, ensuring all components are properly aligned |
| Low water pressure after cleaning | Underlying plumbing issues | Consult a plumber to diagnose and address any deeper problems within the plumbing system |
By fixing these common problems, you can make your non-removable faucet aerator work better. This means you’ll have a reliable and efficient water supply.
Benefits of Regular Aerator Cleaning
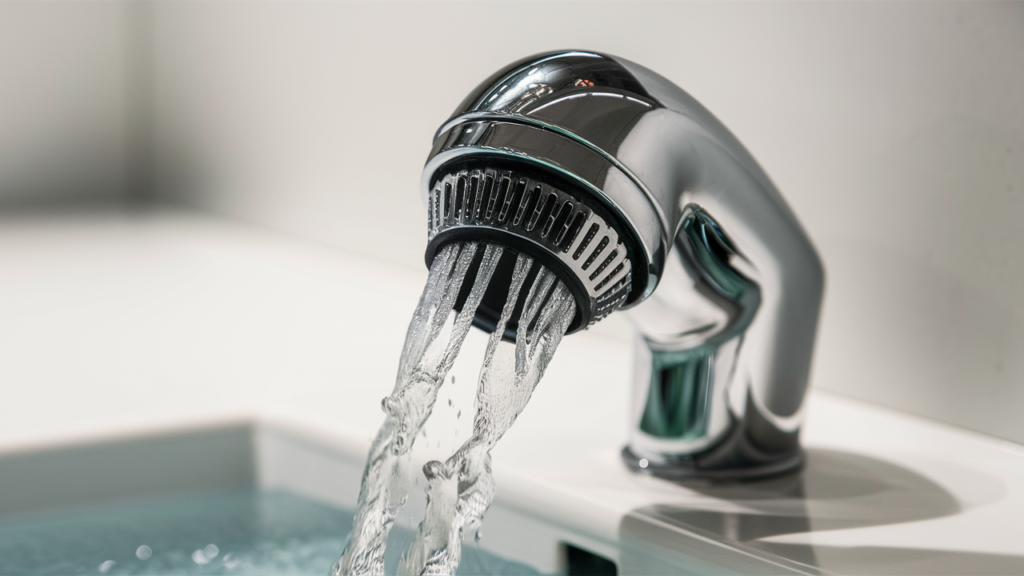
Following are the benefits of cleaning your non-removable faucet aerator:
Ensures Proper Water Flow:
- Regular cleaning maintains the right water flow.
- Prevents unnecessary spills that can damage the faucet over time.
Improves Water Use Efficiency:
- Removes minerals and debris that clog the aerator.
- Ensures better water pressure and reduces water bills.
Reduces Splashing:
- Prevents water from flowing unevenly.
- Minimizes splashing, keeping the surrounding area dry and clean.
Extends Faucet Lifespan:
- Prevents sediment buildup that can erode the faucet’s inner workings.
- Reduces the need for repairs or replacements, saving money in the long run.
- Cleaning your aerator regularly can make a significant difference in both the functionality and longevity of your faucet. Do you need any tips on how to clean it effectively?
“Cleaning your faucet aerator is a simple yet impactful task that can save you money, time, and hassle in the long run.”
In conclusion, the importance of cleaning faucet aerators is huge. Regular cleaning of your non-removable faucet aerator brings many benefits. You get better water flow, less splashing, and a longer-lasting faucet. It’s a smart move for your plumbing’s health and your wallet.
FAQ
What is a non-removable faucet aerator?
A non-removable faucet aerator is a small device at your faucet’s end. It mixes air with water for a steady, splash-free stream. This improves water efficiency and reduces splashing.
What supplies do I need to clean a non-removable faucet aerator?
You’ll need vinegar, a small brush, and a clean cloth or paper towels to clean a non-removable faucet aerator.
How do I clear the aerator opening?
First, unscrew the faucet tip or housing to get to the aerator. Then, use a small brush or toothpick to remove debris or buildup from the openings.
What if I have stubborn buildup on the aerator?
For hard buildup, soak the aerator in vinegar for 10-15 minutes. Then, scrub it with a small brush to remove the residue.
What are some tips for effectively cleaning a non-removable faucet aerator?
Use a soft-bristled brush, avoid harsh cleaners, and maintain the aerator regularly to clean it effectively.
How can I prevent future buildup on my non-removable faucet aerator?
Use a water softener, avoid harsh chemicals, and clean the aerator regularly to prevent buildup.
What should I do if I experience low water pressure after cleaning the aerator?
If you have low water pressure, check if the aerator is properly seated. If not, try removing and reattaching it. If the problem continues, you might need a new aerator.
What are the benefits of regularly cleaning my non-removable faucet aerator?
Cleaning your non-removable faucet aerator regularly improves water efficiency, reduces splashing, and extends your faucet’s life.
When should I consider replacing my non-removable faucet aerator?
Replace it if it’s cracked, damaged, or can’t be cleaned well. This ensures proper function and water flow.



One Comment