


You’ve probably cleaned your faucet aerator to fix low water pressure, but did you know it could also hide dangerous lead particles?
Over time, aerators trap sediment, minerals, and even trace metals like lead—especially in older homes with aging plumbing. Left unchecked, these contaminants can leach into your drinking water, posing serious health risks.
In this guide, you’ll learn how a simple cleaning routine can reduce lead exposure, extend your faucet’s life, and give you peace of mind.
Why Lead Exposure Lurks in Your Faucet Aerator
Faucet aerators act like tiny filters, catching debris from your water supply. While this reduces splashing, they also accumulate harmful particles, including lead. Lead often enters the water through corroded pipes, solder, or brass fixtures (even “lead-free” brass can contain up to 0.25% lead, per EPA standards). When debris sits in the aerator, lead particles can dissolve into your water over time.
Real-Life Example: After testing their water, a Michigan family discovered elevated lead levels traced to their 20-year-old kitchen faucet. Cleaning the aerator reduced lead concentrations by 40%, but they eventually replaced the fixture for long-term safety.
Tools You’ll Need to Clean Safely and Effectively


Gather these supplies to avoid cross-contamination and ensure thorough cleaning:
- Faucet aerator removal tool (or a compatible wrench)
- White vinegar or citric acid (dissolves mineral buildup)
- An old toothbrush or soft-bristle brush
- Rubber gloves (to avoid direct contact with contaminants)
- A bowl or container for soaking
- Optional: Lead testing kit (more on this later)
Pro Tip: The CDC warns that no level of lead is safe for children. Regular aerator cleaning is a critical first step, but pair it with water testing for full protection.
Step-by-Step: Cleaning Your Aerator to Minimize Lead Risks

Step 1: Remove the Aerator Safely
Use your faucet aerator removal tool to unscrew the aerator counterclockwise. Avoid pliers—they can crush the aerator, releasing trapped particles into your water lines.
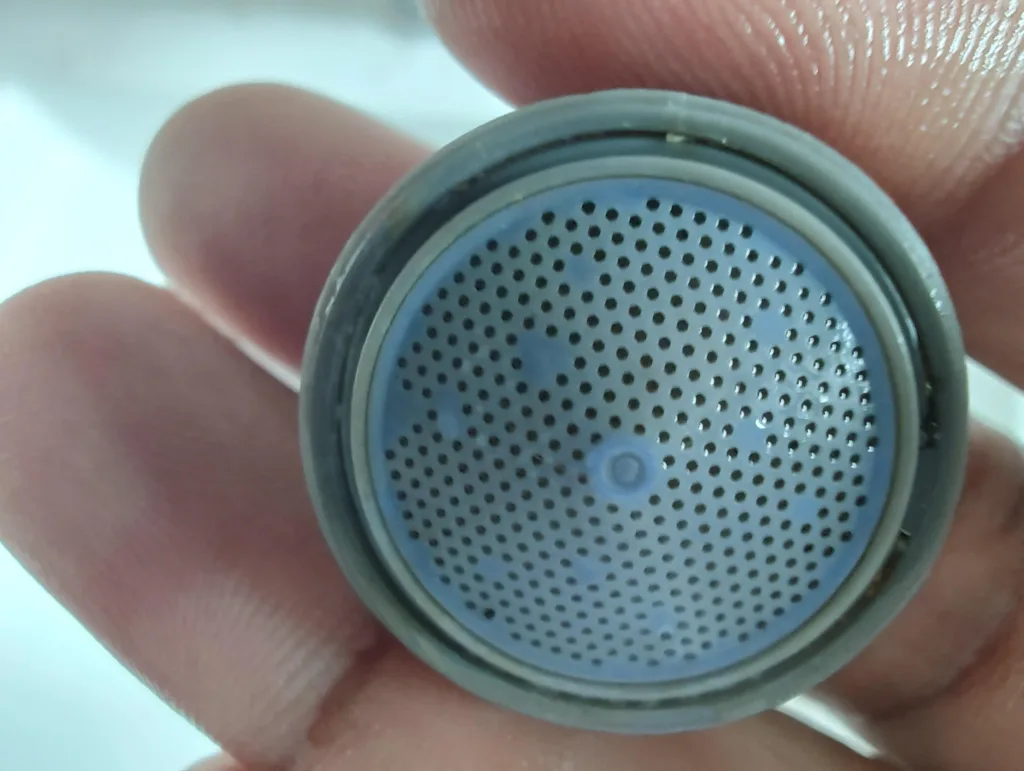
Step 2: Disassemble and Inspect
Most aerators have three parts: a screen, a flow restrictor, and a housing. Take them apart gently. Look for dark debris (common with lead) or white/green mineral deposits.
Step 3: Soak in a Lead-Fighting Solution
Submerge the parts in white vinegar or a citric acid solution (1 tablespoon citric acid per cup of warm water) for 30–60 minutes. These acids dissolve buildup without harsh chemicals.
Step 4: Scrub and Rinse
Wear gloves and scrub each piece with a toothbrush. Pay attention to crevices where lead particles might hide. Rinse thoroughly under cool water.
Step 5: Test for Lead Residue
After cleaning, use an EPA-recommended lead test swab (available at hardware stores) on the aerator parts. If the swab turns pink or red, lead is present. Consider replacing the aerator or faucet.
Step 6: Reassemble and Reinstall
Hand-tighten the aerator to avoid overtightening, which can damage threads and trap future debris.


Beyond Cleaning: How to Reduce Lead Exposure Long-Term
- Test Your Water Annually
DIY test kits cost $10–$30, or contact your local water utility for free testing. The EPA’s Lead and Copper Rule requires utilities to notify you if lead exceeds 15 parts per billion. - Upgrade to Certified Fixtures
Replace old aerators and faucets with NSF/ANSI 61-certified models, which meet strict lead-leaching standards. - Flush Your Pipes
Let cold water run for 30–60 seconds each morning to clear stagnant water from pipes. Never use hot water for cooking—it dissolves lead faster. - Install a Water Filter
Choose a filter certified to remove lead (NSF/ANSI 53). Pitcher filters like Brita Longlast or faucet-mounted Pur units are affordable options.

FAQs: Addressing Your Lead Exposure Concerns
How often should I clean my aerator to prevent lead buildup?
Clean it every 1–2 months if you have older plumbing. For newer systems, every 3–6 months is sufficient.
Can cleaning alone eliminate lead exposure?
No, but it reduces risk. If your water tests are high for lead, cleaning is a temporary fix. Replace lead pipes or install a filter for a permanent solution.
Are there signs that my aerator has lead deposits?
Not always—lead is tasteless and invisible. Testing is the only reliable method.
Do all faucets pose a lead risk?
Fixtures installed before 2014 (pre-“Safe Drinking Water Act” updates) are more likely to contain lead. Newer “lead-free” models are safer but not 100% risk-free.
Is vinegar safe for cleaning lead-contaminated aerators?
Yes, but wear gloves and rinse thoroughly. Vinegar neutralizes minerals but doesn’t remove lead—physical scrubbing is essential.
Can I reuse an aerator after finding lead in it?
It’s not recommended. Replace it with a certified lead-safe model.
What if my water utility says lead levels are “safe”?
Public water tests don’t account for aging home plumbing. Always test your tap water independently.
Final Thoughts: Clean Smarter, Not Harder
Cleaning your faucet aerator is a quick, low-cost habit that significantly cuts lead exposure—especially for households with children, pregnant women, or immunocompromised individuals. Pair this routine with annual water testing and certified filters to build multiple layers of defense.
Your Next Step: Grab a removal tool and clean your aerators this weekend. Then, order a lead test kit or browse NSF-certified faucets. Share your results in the comments, or ask us about tackling other hidden home hazards!
References: EPA Lead and Copper Rule, CDC Lead Poisoning Prevention, NSF International.