How to Clean Faucet Aerators to Reduce Lead Exposure
Without any doubt, faucet aerators are part of the plumbing needed to control the flow of water while in operation while at the same time-saving water.
However, sediments and debris, along with leading particles, can get trapped in them and create some health-related dangers. Therefore, the cleaning of your faucet aerator should become a habit if you are to provide safe, clean water in your home.
In this article, We will explain why cleaning faucet aerators is important, how it can be done, and how this simple procedure may assist in preventing lead exposure.

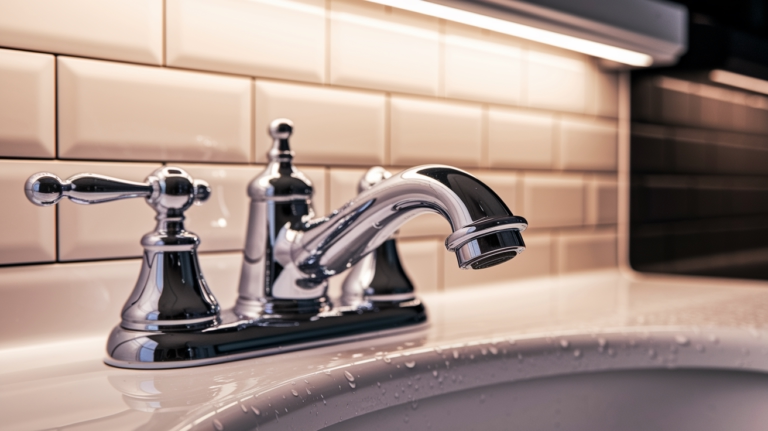
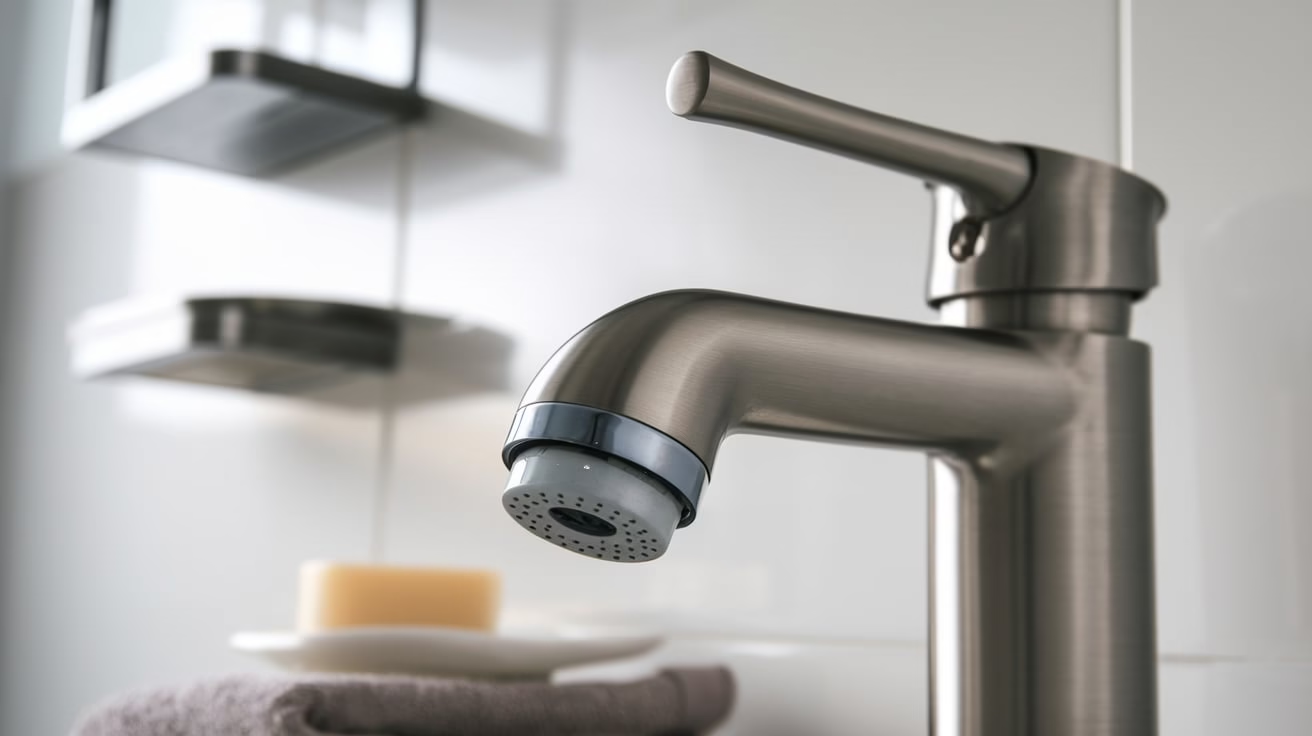
What Is a Faucet Aerator?
A faucet aerator is a small device attached to the end of most faucets. It typically contains a screen that mixes air with water, reducing water flow while maintaining pressure. This component has multiple functions, including:
- Improving water efficiency: By controlling the flow rate, aerators reduce water wastage.
- Enhancing water quality: They prevent splashes and even out water flow.
- Trapping particles: Aerators can catch debris, but this makes them susceptible to clogging over time.
Why Is Cleaning Faucet Aerators Important?
1. Preventing Lead Contamination
Lead can enter water supplies through corroded plumbing materials, particularly in older systems. Faucet aerators may trap lead particles, increasing the risk of exposure every time you use your tap. Regular cleaning minimizes these risks.
2. Maintaining Water Quality
Accumulated debris and mineral deposits not only reduce water flow but can also harbor bacteria and other contaminants, negatively affecting water quality.
3. Prolonging the Aerator’s Lifespan
By regularly removing buildup, you’ll enhance the durability and effectiveness of your faucet aerator, ensuring optimal performance for years to come.
Signs Your Faucet Aerator Needs Cleaning
You might notice your aerator requires cleaning if you experience:
- Reduced water pressure.
- Uneven water flow or splashing.
- Discolored water, which could indicate trapped sediments or rust.
- Unpleasant odors emanating from the faucet.
“Switching from an aerator that releases 2.2 gallons per minute with one that releases 1.5 gallons per minute can reduce water use by 30% without reducing performance.” – Environmental Protection Agency (EPA)
How Often Should You Clean Faucet Aerators?
For homes using older plumbing systems or located in areas with high water hardness, it’s advisable to clean faucet aerators every 3 to 6 months. More frequent cleaning may be necessary if lead contamination is a concern.
How often do you need to clean faucet heads?
Here, I have compiled the cleaning frequency and reasons for cleaning faucet aerators/heads.
| Frequency | Reason | Action Needed |
|---|---|---|
| Every 1-2 months | Prevent buildup of debris and maintain water pressure | Regular inspection and quick cleaning |
| Every 3-6 months | Minimize lead exposure and remove mineral deposits | Deep cleaning with vinegar soak |
| Annually | Ensure long-term performance of aerators and identify damage | Comprehensive maintenance, replacement if needed |
| As needed | Address specific issues like reduced water flow or discolored water | Immediate cleaning and troubleshooting |
Materials Needed to Clean Faucet Aerators
To clean your faucet aerator thoroughly, gather the following tools and materials:
- Adjustable wrench or pliers.
- Old toothbrush.
- Bowl or small container.
- Vinegar (preferably white distilled).
- Toothpick or small pin.
- Clean cloth or paper towels.
Step-by-Step Guide to Cleaning Faucet Aerators
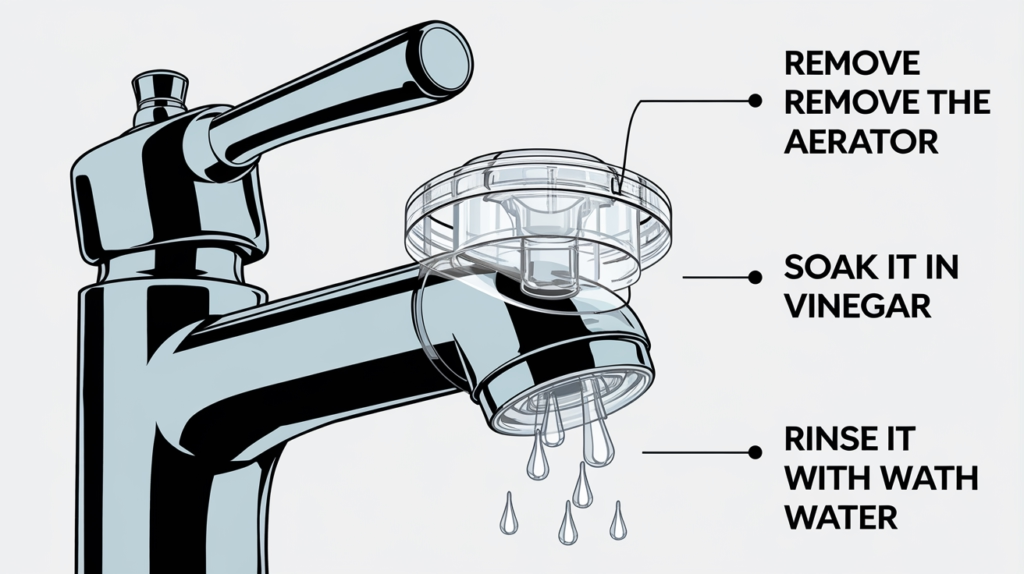
Step 1: Remove the Aerator
- Unscrew the aerator from the faucet by hand. If it’s too tight, use an adjustable wrench or pliers.
- Be gentle to avoid damaging the threads or scratching the aerator’s surface.
- Take note of the assembly order of the components for reinstallation.
Step 2: Disassemble the Aerator
Carefully separate the components of the aerator, typically including:
- The housing.
- Mesh screen.
- Rubber washer.
- Flow restrictor.
Step 3: Soak in Vinegar
- Fill a bowl with vinegar and submerge the aerator parts.
- Allow them to soak for 15-30 minutes to dissolve mineral deposits and other buildups.
- For heavy buildup, leave the parts soaking overnight.
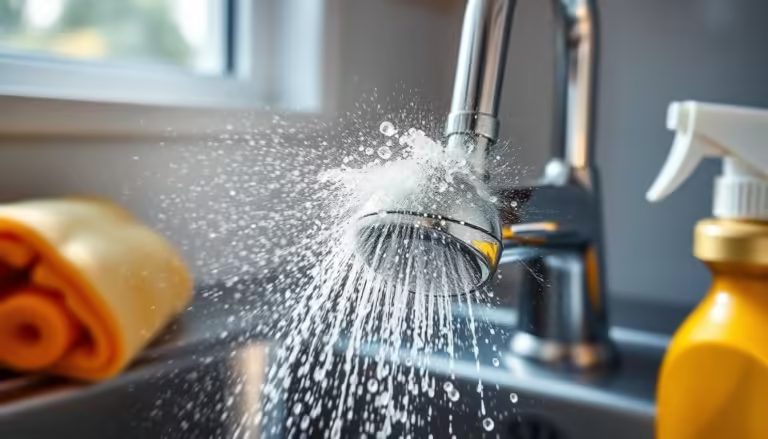
Step 4: Scrub and Rinse
- Use an old toothbrush to scrub each component gently.
- For clogged holes or stubborn debris, use a toothpick or small pin.
- Rinse thoroughly with warm water to remove any remaining residues.
Step 5: Inspect the Aerator
Check for any damage, such as torn washers or corroded components. Replace damaged parts before reassembling.
Step 6: Reassemble and Reinstall
- Reassemble the aerator components in the correct order.
- Screw the aerator back onto the faucet securely by hand or using a wrench.
- Turn on the water to test for proper flow and check for leaks.
Tips for Preventing Lead Exposure Through Aerators
- Use lead-free plumbing materials: Replace outdated fixtures or pipes with modern, lead-free options.
- Test your water regularly: Home water test kits can identify lead levels.
- Run the water: Let cold water run for at least 30 seconds before use, especially if the tap hasn’t been used for several hours.
- Install water filters: NSF-certified filters can effectively reduce lead and other contaminants.
Common Mistakes to Avoid
- Using abrasive tools: Avoid wire brushes or harsh chemicals that can damage aerator components.
- Neglecting to soak: Skipping the vinegar soak can make cleaning less effective.
- Improper reassembly: Ensure components are reassembled in the correct order to maintain functionality.
Benefits of Regular Aerator Maintenance
- Improved water flow: Removing clogs ensures smooth and consistent water delivery.
- Healthier water: Reducing contaminants minimizes potential health risks.
- Cost savings: Regular maintenance prolongs the lifespan of plumbing fixtures, saving on repairs and replacements.
“Replacing old bathroom faucets and aerators with WaterSense labeled models can save the average family nearly 11,000 gallons of water over the faucets’ lifetime.”
Conclusion
Cleaning faucet aerators is a simple but impactful task that contributes significantly to water quality and health. By following the steps outlined in this guide, you can effectively reduce lead exposure, improve water flow, and ensure a safer environment for your household. Regular maintenance of faucet aerators is an essential practice for any home, delivering long-term benefits and peace of mind.
Make this small habit part of your home care routine and enjoy the assurance of clean, lead-free water every day.
Faq’s
How do you disinfect a faucet aerator?
Disinfecting a faucet aerator: Soak it in white vinegar for 15-20 minutes, then scrub with a small brush or toothpick
Do aerators have lead?
Lead in aerators: Older faucets may contain lead, but newer ones (post-2014) have very low lead content
How often should you change faucet aerators?
Change frequency: Clean every 6 months; replace if damaged
Are faucet aerators safe?
Safety: Yes, they are safe when maintained properly