How to replace Kitchen Faucet?
Replacement of kitchen faucets is one of the most cost-effective improvements, that can change the look and feel of your kitchen.
Whether you have a problem, such as a leaking faucet that naturally requires professional help or you are just bored with the current look, you can try doing it yourselves.
In this guide, you will learn how to replace your faucet step by step.
Preparing for the Faucet Replacement
Replacing a kitchen faucet can be a fun DIY (Do It Yourself) project. But, it’s important to prepare well before starting. You need the right tools to make sure the water supply is off.

Gathering the Necessary Tools
First, gather all the tools and materials you need. This includes a basin wrench, a plumber’s putty, a basin nut, and any needed supply line fittings. Having these ready will make the installation easier and avoid delays.

Turning Off the Water Supply
Another key step is to turn off the water supply to the faucet. Look for the shut-off valves under the sink or behind the faucet. Turn them clockwise until they’re fully closed. This is crucial for a safe and successful installation.
By preparing well, you’ll have a smooth faucet replacement project. It will improve your kitchen remodel. Remember, a bit of preparation can make the process much easier.
How to remove old kitchen faucet?
A simple way to improve the looks of your sink and your faucet functionality is changing the kitchen faucet. The first step therefore is to unscrew the vein or faucet which has served its time. This might seem like a few steps, but it is very simple as we take the right method.
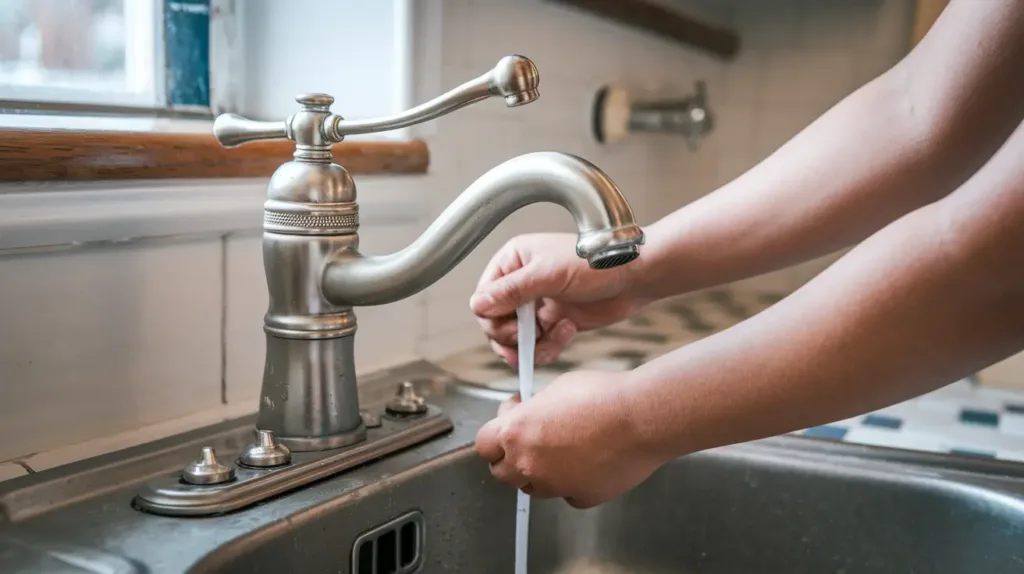
- First of all, stop water supply to the faucet you want to replace. These shut off valves are located beneath the sink. Rotate them asking towards oneself to stop them. Subsequently you can turn off the supply lines coming from the faucet itself.
- Take out the mounting nuts that keep the faucet in position usually by unscrewing them. These are commonly found beneath the sink or on the top of it.
- Very carefully remove the old faucet from the sink and try to remember how it was set to install the new one.
- If faucet is sealed with caulk or silicone, then, to remove it, you may use a utility knife or putty knife.
- Remove all the remaining sealer or caulk from the sink surface if the new faucet wants removal for fixing.
Once you have been able to take off the old faucet is when you are set for the next step. This is choosing and installing your new kitchen sink fixtures. You’ll need to measure the sink opening, pick a faucet that fits, and follow the manufacturer’s instructions for a smooth installation.
Cleaning the Sink Area
Before you install a new kitchen faucet, make sure to clean the sink area well. This step helps the installation go smoothly and lets you check for any damage. Proper sink maintenance is key during your remodel or faucet installation project.
Inspecting for Any Damages
After removing the old faucet, inspect the sink and counter-top for damage. This is crucial in the DIY plumbing process. Any damage could affect the new faucet’s installation. If you find any issues, fix them before installing the new faucet.
- Carefully examine the sink basin for any visible cracks or chips.
- Inspect the countertop around the sink for any signs of damage or wear.
- Check the sink mounting area for any loose or unstable components.
- Ensure the sink drain is in good working condition and free of any blockages.
| Sink Damage | Potential Issues | Recommended Action |
|---|---|---|
| Cracks or chips in sink basin | Potential for leaks and water damage | Replace the sink if the damage is extensive |
| Worn or damaged countertop | Unstable surface for faucet installation | Repair or replace the countertop as needed |
| Loose or unstable sink mounting | Potential for faucet misalignment or leaks | Secure the sink mounting or consider a complete sink replacement |
| Blocked or malfunctioning sink drain | Potential for water backup and drainage issues | Clear the drain or replace the sink drain components |
By thoroughly inspecting the sink area, you can ensure a successful and long-lasting faucet installation in your kitchen remodel project.
Selecting the Perfect Faucet
Choosing the right faucet for your kitchen is key. It greatly affects your kitchen’s look and how it works. As you plan your kitchen remodel, think about what faucet will fit your sink and kitchen design.
Considering Style and Functionality
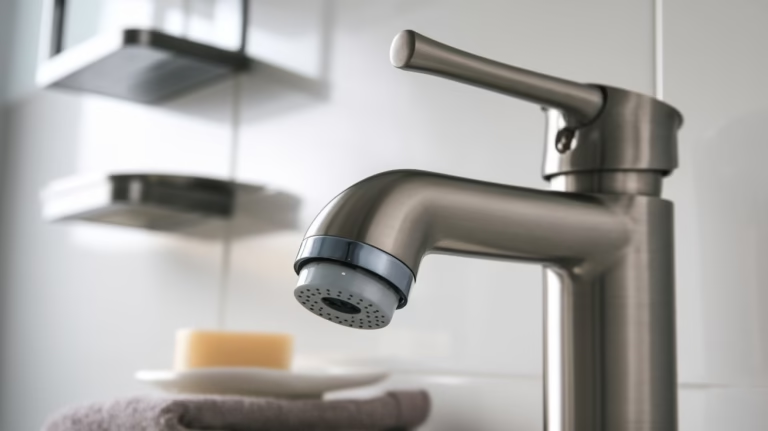
Style and function are important when picking a faucet. First, look at your kitchen’s design and what you want it to look like. Do you like modern or traditional styles? Check out faucet finishes like stainless steel or brushed nickel to match your kitchen.
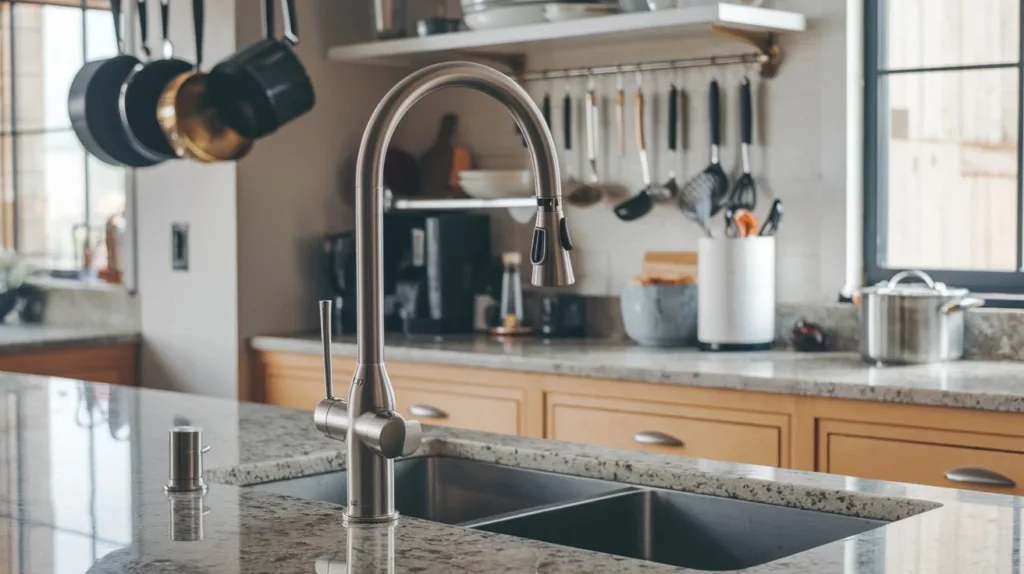
But it’s not just about looks. Think about how you use your sink. Do you fill big pots or wash delicate items? Look for faucets with features like high-arc spouts or pull-out sprayers. These make your daily tasks easier.
| Faucet Feature | Benefit |
|---|---|
| High-Arc Spout | Provides ample clearance for filling tall containers |
| Pull-Down or Pull-Out Sprayer | Offers versatility and convenience for various tasks |
| Multiple Flow Settings | Allows you to adjust the water pressure and stream for different needs |
By thinking about style and function, you can find a faucet that looks great and makes your life easier. It will enhance your kitchen’s look and make daily tasks simpler.
Installing the New Faucet
Replacing your kitchen faucet is a great DIY project. But, it’s important to follow the manufacturer’s instructions closely. This guide will help you install your faucet correctly and ensure it works well.
Following the Manufacturer’s Instructions
Every kitchen faucet is different, needing its own installation steps. Before you start, read the manufacturer’s instructions carefully. They will guide you on how to connect the water supply lines, attach the faucet, and make sure it fits right.
Ensuring Proper Alignment
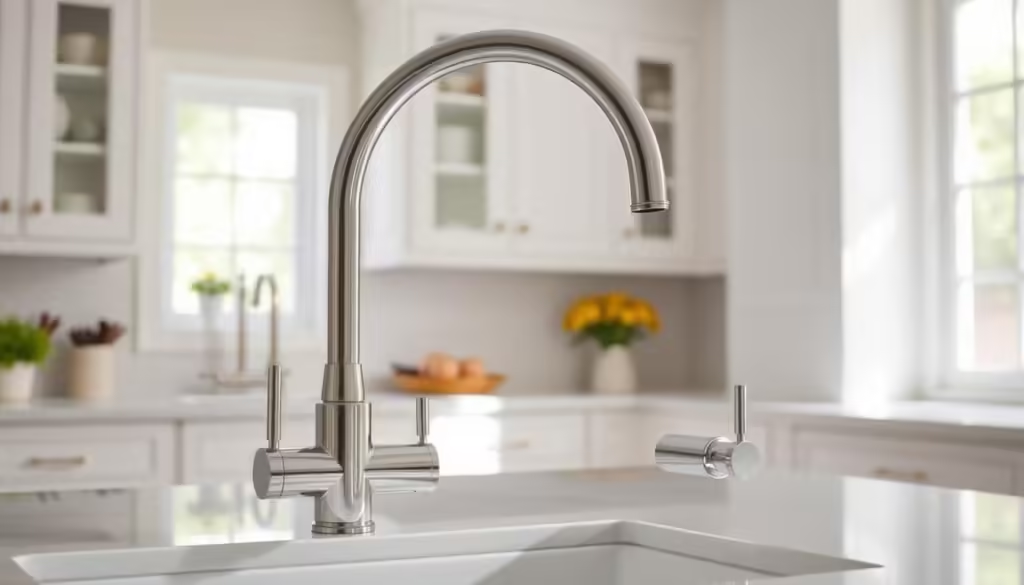
Getting the faucet aligned right is key for your kitchen’s look and function. Spend time placing the faucet correctly. Make sure it’s centered over the sink and level. This will make your DIY plumbing job look professional and ensure the faucet works smoothly.
| Step | Description |
|---|---|
| 1 | Review the manufacturer’s instructions carefully |
| 2 | Secure the water supply lines according to the instructions |
| 3 | Carefully position the faucet, ensuring proper alignment and centering |
| 4 | Tighten the faucet in place, following the recommended steps |
| 5 | Double-check the alignment and connections for a secure fit |
By following the manufacturer’s instructions and focusing on alignment, you can finish this DIY plumbing project successfully. You’ll have a beautifully updated kitchen sink fixture.
Connecting the Water Supply Lines
After installing the new faucet, it’s time to connect the water supply lines. You might need a basin wrench to tighten the connections and check for leaks. It’s important to be patient and double-check your work to avoid water damage.
- Find the water supply lines and mark the connection points on the new faucet.
- Use a basin wrench to tighten the connections, making sure they fit well.
- Look closely at the connections for any leaks or drips.
- If needed, add plumber’s putty or Teflon tape to seal the connections.
- Turn on the water and check for leaks around the new sink fixtures.
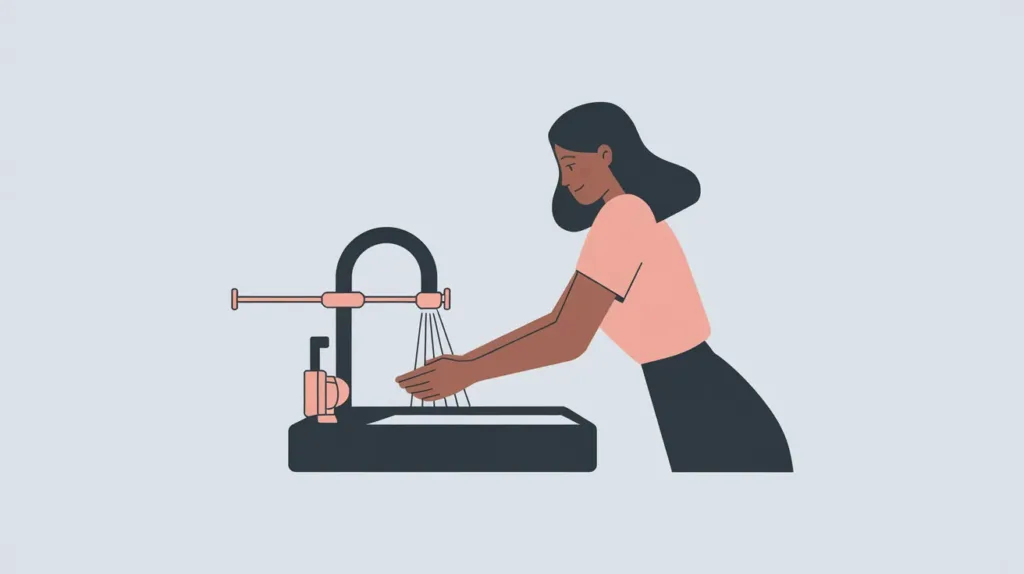
By carefully connecting the water supply lines, you can ensure a good faucet installation and avoid water damage. Remember, paying attention to detail and being careful are crucial for a successful DIY plumbing project.
| Tool | Purpose |
|---|---|
| Basin Wrench | Tighten the connections between the water supply lines and the new faucet |
| Plumber’s Putty | Create a watertight seal around the connections |
| Teflon Tape | Prevent leaks and ensure a secure connection |
Replacing the Kitchen Faucet
With the new faucet in place and water lines connected, you’re ready to enjoy your kitchen. Step back and admire your work. You’ve successfully done the faucet replacement project! This DIY task makes your sink more functional and gives your kitchen remodel a fresh look.
Before turning the water back on, check all connections are tight and there are no leaks. Tighten any loose fittings. When you’re sure everything is right, turn the water back on and test the new sink fixtures.
As you turn on the faucet, enjoy the smooth flow and no drips or leaks. If problems arise, look at the manufacturer’s instructions or get help from a DIY plumbing expert.
With your kitchen faucet replaced, you’ll love the new look and feel of your sink. This project not only makes your kitchen look better but also increases your home’s value. Celebrate your plumbing skills and think about other DIY plumbing projects to try.
Testing for Leaks
As the final step in my faucet replacement project, I carefully tested the new installation for any potential leaks. Ensuring a watertight connection is crucial to preventing water damage and maintaining the long-term integrity of my kitchen sink.
The Future of Bathrooms: Smart Faucet Technology
byu/Early-Analysis-5510 insmarthome
Checking the Connections
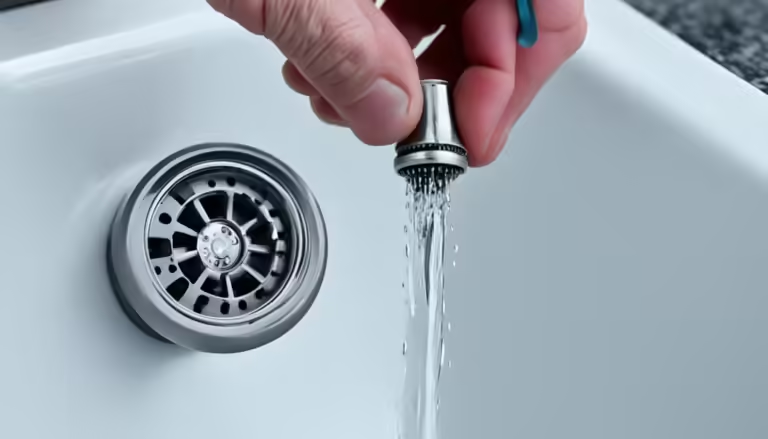
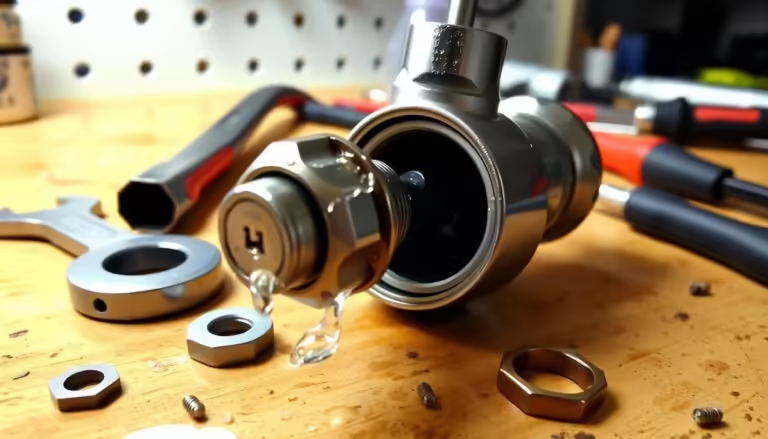
I began by thoroughly inspecting all the connections, including the water supply lines and the faucet itself. I turned the water back on and closely monitored the entire setup for any signs of dripping or seepage.
This inspection allowed me to catch and address any minor issues before they escalated into bigger problems.

One Comment