How do you remove hard water deposits from faucet aerator?
Hard water deposits can accumulate on faucet aerators, reducing water flow and efficiency. Here we provide a step-by-step guide on your faucet’s performance effectively.
Summary
This guide outlines cleaning faucet aerators to eliminate hard water deposits. To remove hard water deposits from a faucet aerator, turn off the water, unscrew the aerator, soak it in vinegar for 30 minutes, scrub with a toothbrush, rinse, and reassemble. Regular cleaning helps maintain optimal flow. 🚰✨
Steps to Remove Hard Water Deposits
1. Gather Your Materials
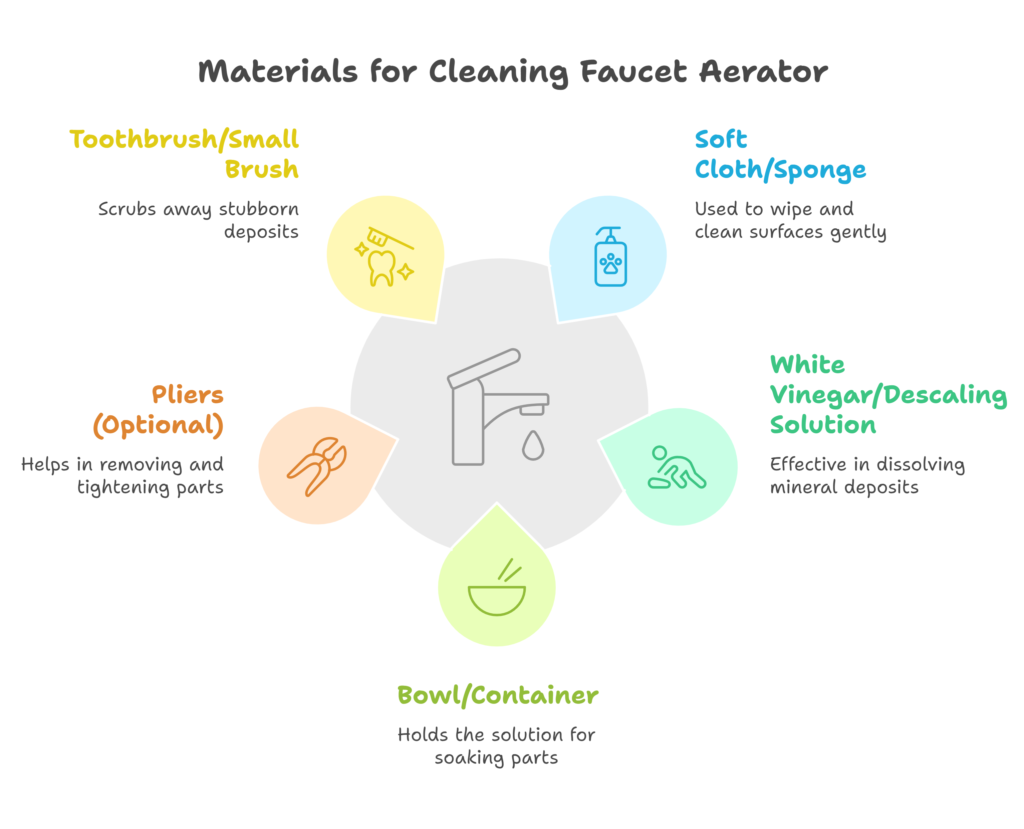
Before you begin, make sure you have the following items:
- A soft cloth or sponge
- White vinegar or a descaling solution
- A small bowl or container
- A pair of pliers (optional)
- A toothbrush or small brush
2. Remove the Aerator
- Unscrew the Aerator: Most aerators can be unscrewed by hand. If it’s too tight, use pliers to loosen it gently. Be careful not to damage the faucet or aerator.
- Inspect the Aerator: Check for any visible damage or wear.
3. Soak the Aerator
- Prepare the Soaking Solution: Fill a small bowl or container with white vinegar or a descaling solution.
- Soak the Aerator: Submerge the aerator in the solution and let it soak for at least 30 minutes. For heavy deposits, you may want to wash it longer.
4. Scrub the Aerator
- Use a Brush: After soaking, take a toothbrush or small brush and scrub the aerator to remove any remaining deposits. Pay special attention to the mesh screen and any crevices.
- Rinse Thoroughly: Rinse the aerator under warm water to remove any vinegar or descaling solution.
5. Reassemble the Aerator
- Screw the Aerator Back On: Once clean, carefully screw the aerator back onto the faucet. Ensure it is secure but avoid over-tightening.
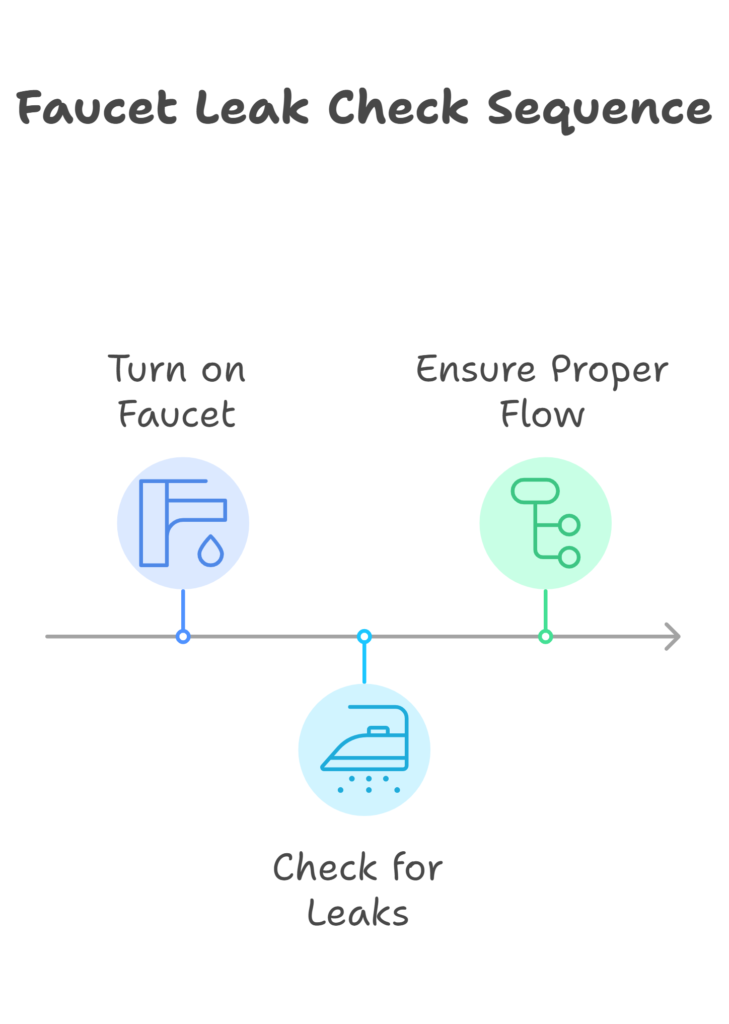
- Check for Leaks: Turn on the faucet to check for leaks and ensure proper water flow.
6. Regular Maintenance
To prevent future buildup, consider cleaning your aerator every few months, especially if you live in an area with hard water. Regular maintenance will help keep your faucet functioning efficiently.
Conclusion
Removing hard water deposits from your faucet aerator is a straightforward process that can significantly improve water flow and efficiency. Following the steps outlined in this guide, you can easily maintain your faucet and prevent future issues related to hard water buildup.
FAQ’s
How do you remove a calcified aerator?
To remove a calcified aerator:
Turn off the faucet: Ensure no water is flowing.
Unscrew the aerator: Use pliers if it’s stuck.
Soak in vinegar: Immerse the aerator in vinegar for 30 minutes to dissolve calcium.
Scrub and rinse: Use a brush to remove any remaining deposits.
Reassemble: Rinse thoroughly and screw the aerator back on.
This concise guide helps you easily clean your faucet aerator. 🚰✨


