How to Replace a Bathtub Faucet Stem: A Step-by-Step Guide
A leaking or malfunctioning bathtub faucet can waste water and increase utility bills. Replacing the faucet stem is a practical solution that restores smooth operation. Follow this comprehensive, step-by-step guide to replace a bathtub faucet stem effectively.
Why Replace a Bathtub Faucet Stem?

Over time, the faucet stem wears out due to regular use and mineral buildup. A faulty stem can lead to:
- Persistent leaks
- Dripping water
- Difficulty turning the faucet on and off
Replacing the faucet stem can help prevent further damage and ensure an efficient plumbing system.
Tools and Materials Required
Before beginning the process, gather the following tools:
- Adjustable wrench
- Phillips and flathead screwdrivers
- Plumber’s grease
- Replacement faucet stem
- Pipe thread sealant (Teflon tape)
- Rag or towel
- Bucket (optional, to catch any dripping water)
Step-by-Step Guide to Replacing a Bathtub Faucet Stem

Step 1: Turn Off the Water Supply
Before starting, turn off the water supply to prevent leaks or flooding. Locate the main shut-off valve in your home and turn it off. Then, open the faucet to drain any remaining water.
Step 2: Remove the Faucet Handle
- Use a flathead screwdriver to pry off the handle’s decorative cap.
- Use a Phillips screwdriver to remove the screw holding the handle in place.
- Gently pull the handle off. If it’s stuck due to mineral buildup, apply gentle rocking motions to loosen it.
Step 3: Remove the Escutcheon Plate
- The escutcheon plate is the decorative metal cover around the faucet stem.
- Unscrew or slide it off, depending on the design.
- Clean any debris or mineral deposits around the area.
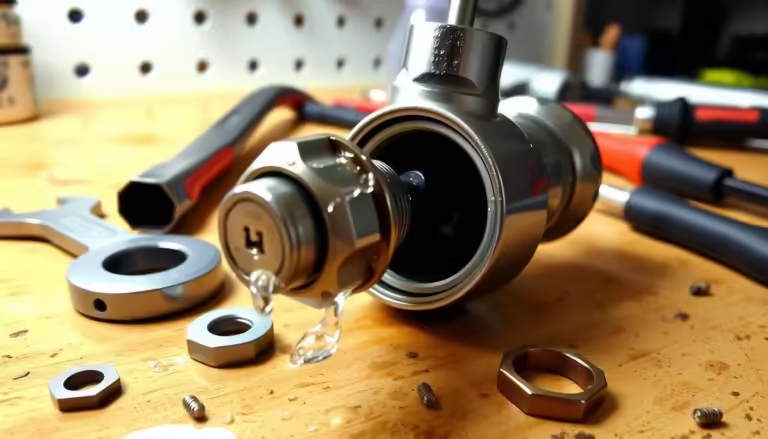
Step 4: Unscrew and Remove the Faucet Stem
- Use an adjustable wrench to grip the faucet stem and turn it counterclockwise.
- Carefully pull the stem out of the fixture.
- Inspect the old stem for damage and wear.
Step 5: Install the New Faucet Stem
- Apply plumber’s grease to the new stem to ensure smooth operation.
- Insert the replacement stem into the fixture and tighten it using the adjustable wrench.
- Ensure the stem is secure but avoid overtightening.
Step 6: Reassemble the Faucet
- Reattach the escutcheon plate and ensure it sits flush.
- Reinstall the faucet handle and secure it with the screw.
- Snap the decorative cap back into place.
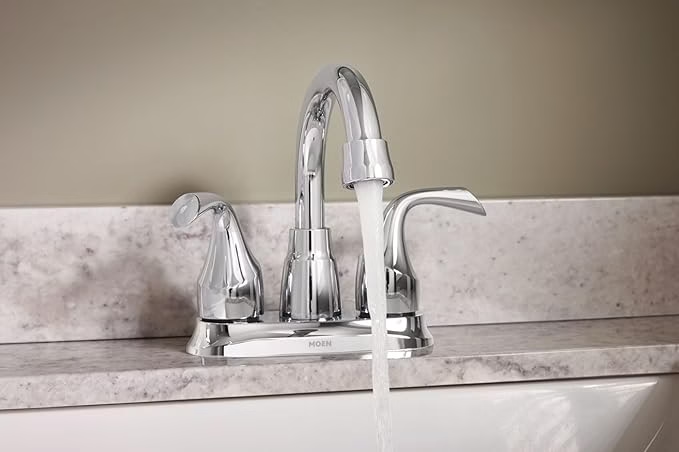
Step 7: Turn On the Water Supply and Test
- Turn on the water supply and slowly open the faucet.
- Check for leaks and ensure the handle moves smoothly.
- If any leaks occur, slightly tighten the stem or use Teflon tape for better sealing.
Final Thoughts
Replacing a bathtub faucet stem is a cost-effective and simple DIY repair that saves water and extends the life of your faucet. Following this step-by-step guide, you can efficiently restore your bathtub’s functionality without professional assistance.
Stay tuned to our blog for more home improvement tips and plumbing guides!
“As an Amazon Associate, I earn from qualifying purchases.”