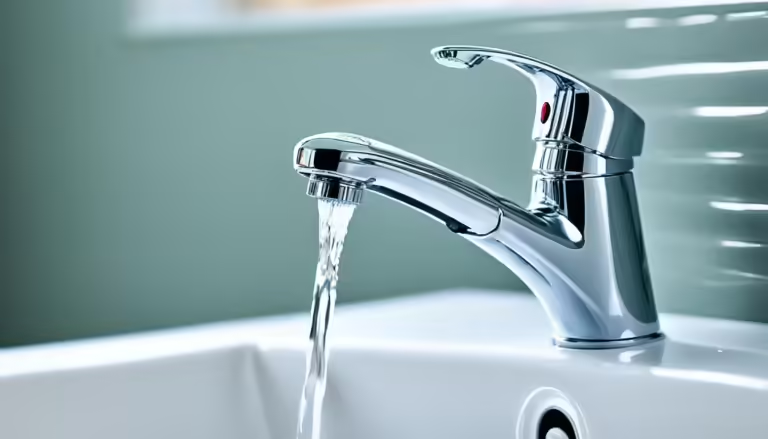
How to Replace a Bathtub Faucet: A Step-by-Step DIY Guide
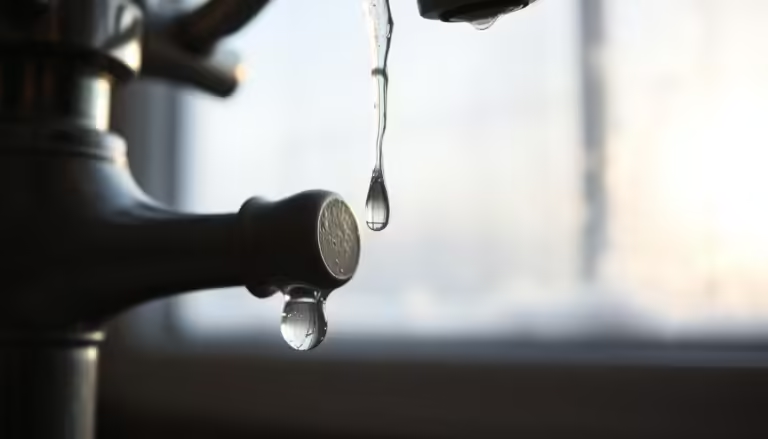
Is your bathtub faucet leaking, corroded, or just stuck in the last decade? Replacing a bathtub faucet is one of the most rewarding DIY bathroom upgrades you can do. Not only does it eliminate the annoying “drip-drip” sound, but it also instantly refreshes your bathroom’s aesthetic without requiring a full remodel.
In this guide, we’ll walk you through the entire process—from identifying your spout type to the final leak test.
Preparation: Tools & Materials You’ll Need
Before you start unscrewing pipes, ensure you have these essentials on hand. Being prepared prevents “mid-project hardware store runs.”
| Tools | Materials |
| Adjustable Wrench / Pipe Wrench | New Faucet & Handles |
| Hex Key (Allen Wrench) | Plumber’s Tape (Teflon Tape) |
| Phillips & Flathead Screwdrivers | Silicone Caulk & Caulk Gun |
| Needle-nose Pliers | Plumber’s Grease |
| Old Towels (to cover the drain) | Replacement Cartridge (if needed) |
Phase 1: Identifying Your Faucet Type
You can’t buy the right replacement until you know what you’re currently using. Most bathtub spouts fall into two categories:
- Slip-on Spouts: These slide over a copper pipe and are held in place by a small set screw underneath the spout near the wall.
- Threaded (Screw-on) Spouts: These have internal threads and screw directly onto a threaded pipe nipple. There is no set screw.
Pro Tip: Look underneath your spout with a flashlight. If you see a small hole with a screw, it’s a slip-on. If it’s solid metal all the way around, it’s threaded.
Phase 2: Removing the Old Faucet

1. Shut Off the Water
Locate your home’s main water shut-off valve (usually in the basement or a utility closet). Please turn it off and open the tub faucet to drain any remaining water in the lines.
2. Protect the Tub & Drain
Lay a towel over the tub floor and plug the drain. This prevents dropped screws or tools from causing damage or disappearing forever down the pipe.
3. Remove the Spout
- For Slip-on: Use your hex key to loosen the set screw. Once loose, pull the spout straight away from the wall.
- For Threaded: Grip the spout with a pipe wrench (wrap it in a rag to avoid scratching if you plan to keep it) and turn it counter-clockwise.
4. Remove Handles and Cartridges
Pry off the decorative cap (index) on the handle, unscrew the center screw, and pull the handle off. If you are replacing the internal valve, use a socket wrench to remove the faucet cartridge.
Phase 3: Installing the New Faucet

1. Clean the Area
Use a putty knife or an old cloth to scrape away old caulk and mineral deposits from the wall and the copper pipe. A clean surface ensures a waterproof seal.
2. Apply Plumber’s Tape
If you have a threaded spout, wrap the threads of the wall pipe 2–3 times with plumber’s tape in a clockwise direction. This prevents “invisible” leaks behind the wall.
3. Secure the New Spout
- Slip-on: Slide the spout over the pipe until it is flush against the wall. Tighten the set screw with your hex key.
- Threaded: Twist the new spout onto the pipe by hand until tight, then give it a final snug turn with a wrench.
4. Install Handles
Slide the new handles onto the stems, tighten the screws, and snap the decorative caps back into place.
5. Seal the Deal
Apply a thin bead of silicone caulk around the base of the spout where it meets the wall. Leave a small gap at the very bottom (the “weep hole”) so any trapped water can escape.
Troubleshooting Common Issues
- Spout is Wobbly: Your set screw isn’t tight enough, or the pipe nipple is too long. You may need a spacer or a different spout length.
- Leaking from the Wall: This usually means the plumber’s tape wasn’t applied correctly or the pipe is corroded. Remove and re-tape.
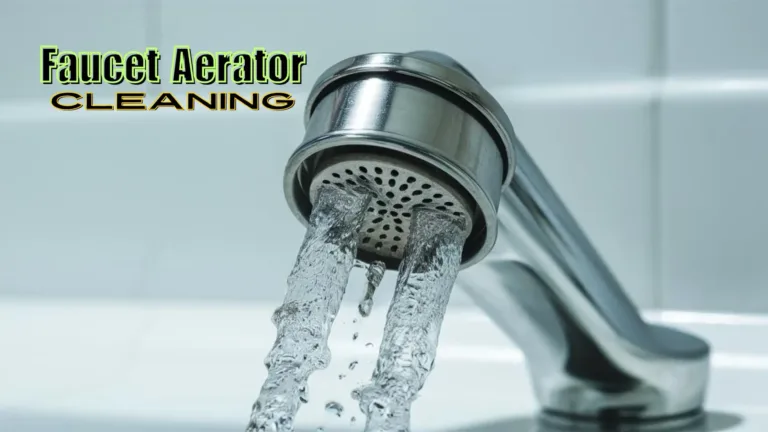
- Low Water Pressure: Check the aerator (the mesh at the end of the spout). Mineral buildup often clogs new fixtures during installation.
FAQ: Frequently Asked Questions
Do I need a plumber to change a bathtub faucet?
Most homeowners can handle a spout and handle replacement. However, if you need to replace the valve body inside the wall (which requires cutting pipe), calling a pro is safer.
Can I replace a two-handle faucet with a single-handle one?
Not easily. This requires changing the plumbing manifold behind the wall and potentially patching tile. It’s best to stick to your existing configuration.
How long does it take to replace a tub faucet?
If you have all the tools ready, a standard replacement takes about 30 to 60 minutes.