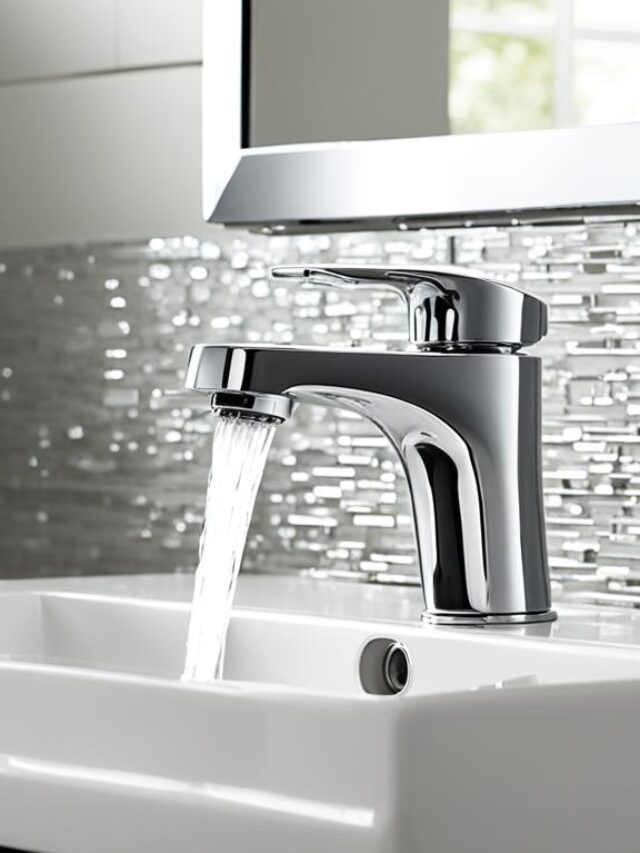
Moen Bathroom Faucet Installation Guide: Step-by-Step Instructions
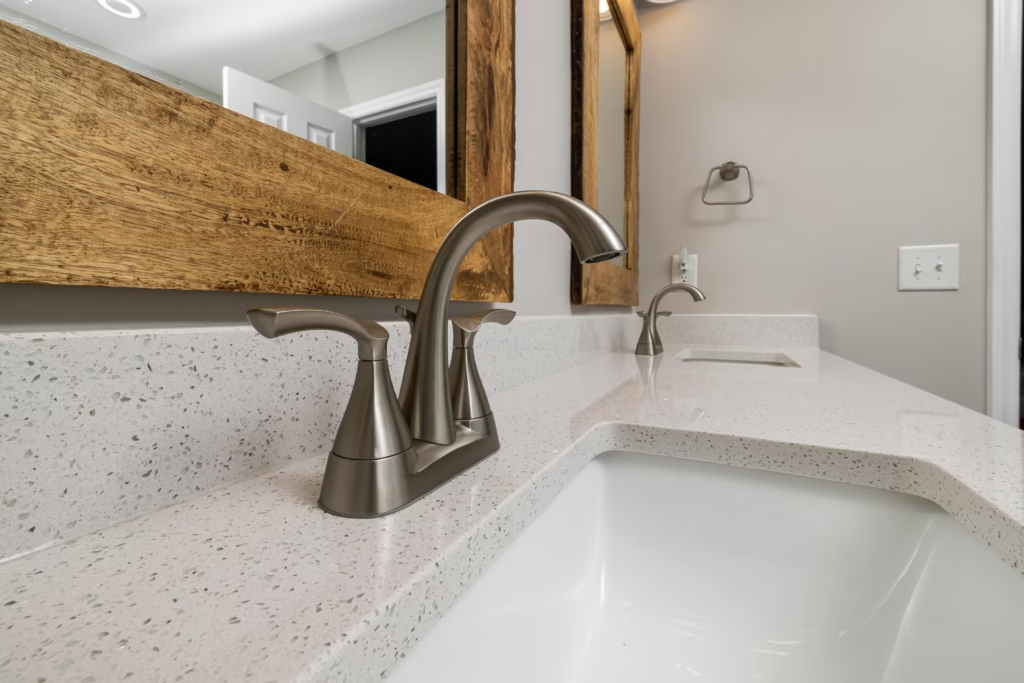
Installing a Moen bathroom faucet is a straightforward DIY project that can instantly upgrade your bathroom’s look and functionality. Moen is a trusted brand known for its durable, stylish, and innovative faucets.
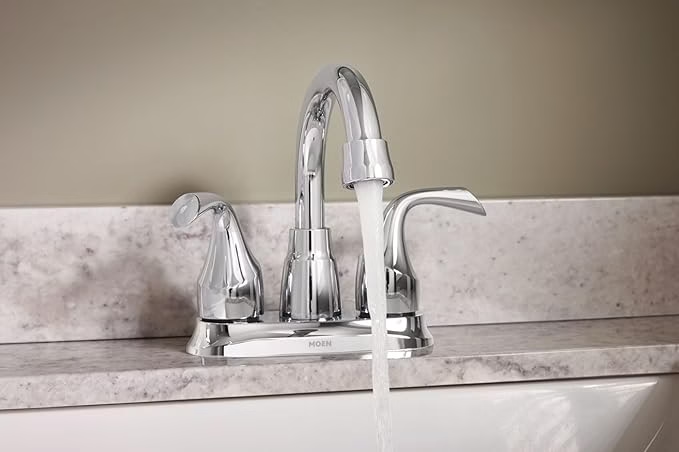
Moen | amazon
Whether you’re replacing an old faucet or installing a new one, this guide will walk you through the process step by step, with tips to avoid common mistakes.
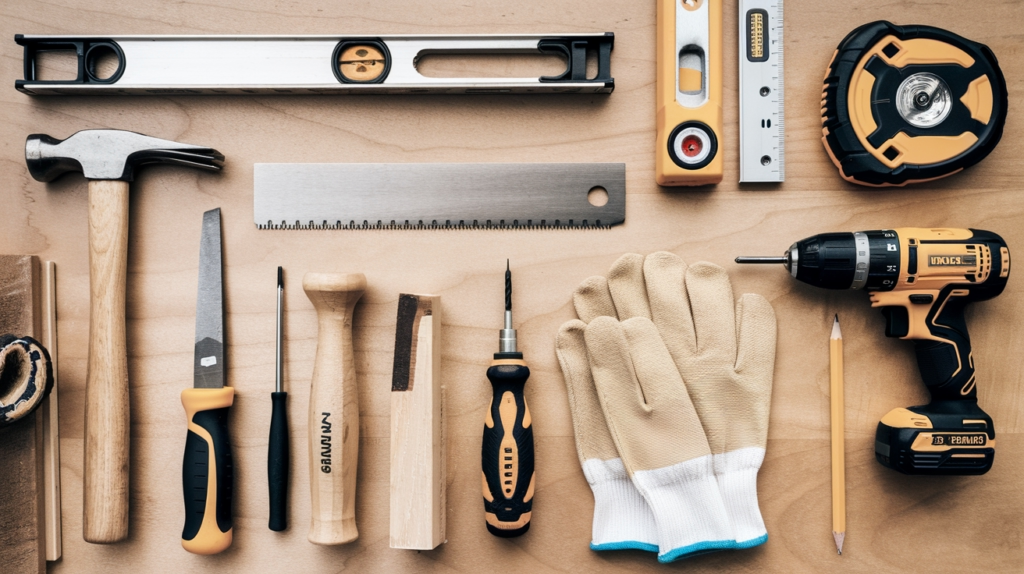
Tools and Materials You’ll Need
Before you begin, gather the following tools and materials:
- Moen bathroom faucet (ensure it matches your sink’s configuration)
- Adjustable wrench
- Basin wrench (for tight spaces)
- Plumber’s putty or silicone caulk
- Teflon tape
- Screwdriver (flathead or Phillips, depending on the model)
- Bucket or towel (to catch water)
- Flashlight (for better visibility)
- Plumber’s tape measure
- Safety gloves and goggles
Step 1: Turn Off the Water Supply
- Locate the water shut-off valves under the sink.
- Turn the valves clockwise to shut off the water supply.
- Turn on the existing faucet to drain any remaining water in the pipes.
- Place a bucket or towel under the sink to catch any residual water.
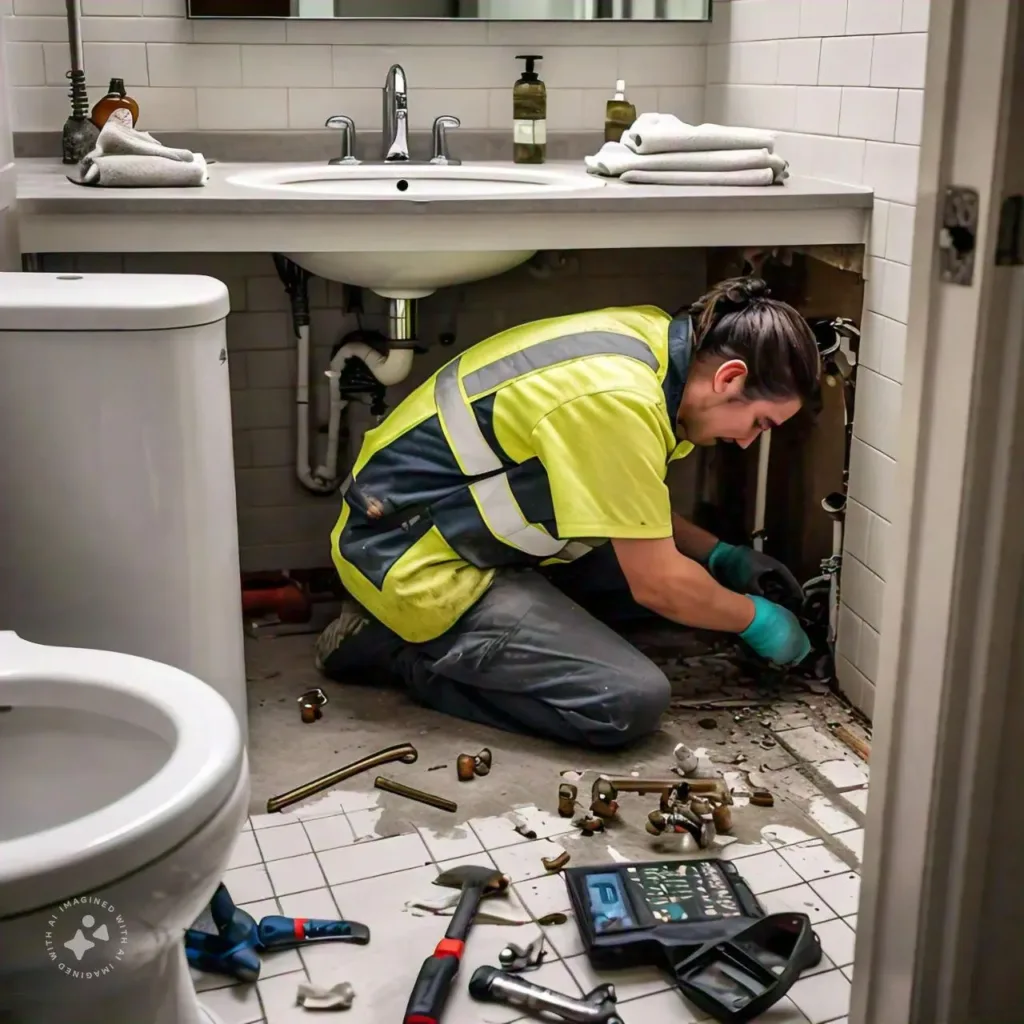
Step 2: Remove the Old Faucet

- Disconnect the Supply Lines: Use an adjustable wrench to loosen the nuts connecting the supply lines to the faucet.
- Remove the Mounting Nuts: Use a basin wrench to loosen and remove the nuts securing the faucet to the sink.
- Lift Out the Old Faucet: Carefully lift the old faucet out of the sink.
- Clean the Sink Surface: Remove any old plumber’s putty or debris from the sink surface.
Step 3: Prepare the New Moen Faucet
- Read the Instructions: Review the installation manual provided with your Moen faucet.
- Assemble the Faucet: If your faucet comes in multiple pieces, assemble it according to the instructions.
- Apply Plumber’s Putty or Silicone Caulk: If required, apply a small amount of Plumber’s putty or Silicone caulk to the base of the faucet to create a watertight seal.
Step 4: Install the New Faucet
- Insert the Faucet: Place the new faucet into the mounting holes on the sink. Ensure it’s properly aligned.
- Secure the faucet: Attach the mounting nuts and washers under the sink to secure the faucet. Tighten them with a basin wrench.
- Connect the Supply Lines: Attach the water supply lines to the faucet tailpieces. Use Teflon tape on the threads to prevent leaks.
- Hand-Tighten First: Tighten the connections by hand, then use an adjustable wrench to secure them. Avoid over-tightening, as this can damage the fittings.
Step 5: Test for Leaks
- Turn On the Water Supply: Slowly turn the shut-off valves counterclockwise to restore water flow.
- Check for Leaks: Turn on the faucet and inspect all connections for leaks. Tighten any fittings if necessary.
- Test the Drain: If your faucet includes a pop-up drain, test its functionality by opening and closing it.
Step 6: Final Adjustments
- Adjust the Handle: If your Moen faucet has an adjustable handle, set it to your preferred position.
- Clean Up: Wipe down the faucet and sink to remove any fingerprints or debris.
Common Mistakes to Avoid
- Over-Tightening Connections: This can damage the faucet or cause leaks. Hand-tighten first, then use a wrench for a snug fit.
- Skipping Teflon Tape: Always use Teflon tape on threaded connections to prevent leaks.
- Misaligning the Faucet: Ensure the faucet is centered and aligned with the sink holes before tightening.
- Ignoring the Manual: Moen faucets come with detailed instructions. Always refer to them for model-specific guidance.
Why Choose Moen?
Moen faucets are known for their:
- Durability: Built to last with high-quality materials.
- Innovative Features: Options like MotionSense (touchless technology) and Spot Resist finishes.
- Stylish Designs: A wide range of styles to match any bathroom decor.
- Lifetime Warranty: Moen offers a limited lifetime warranty on most faucets, ensuring peace of mind.
Need Visual Help? Watch This Video
For a visual walkthrough, check out this Moen Faucet Installation Video (replace with an actual Moen video link).
Final Thoughts
Installing a Moen bathroom faucet is a manageable DIY project that can save you money and give you a sense of accomplishment. By following this guide, you’ll have a beautifully functioning faucet in no time. If you encounter any issues or feel unsure, don’t hesitate to call a licensed plumber or contact Moen’s customer support for assistance.